Contents
- How is a sweatshirt tech pack different from…
- Brushed-back or loopback: which fleece shoul…
- How do you spec shrinkage and pre-treatment?
- How do you spec a crewneck neckline?
- Should the sleeves be raglan or set-in?
- How should cuff and waistband rib be specifi…
- Which stitch types does a sweatshirt need?
- Where do prints and embroidery go?
- What labels and trims does a sweatshirt need?
- What points of measure does a crewneck sweat…
- How should a sweatshirt grade across sizes?
- What goes in the BOM and colourways?
- How do you write sample comments a factory c…
- What are the most common sweatshirt tech pac…
- Frequently asked questions
- The bottom line
- Sources
- Related guides

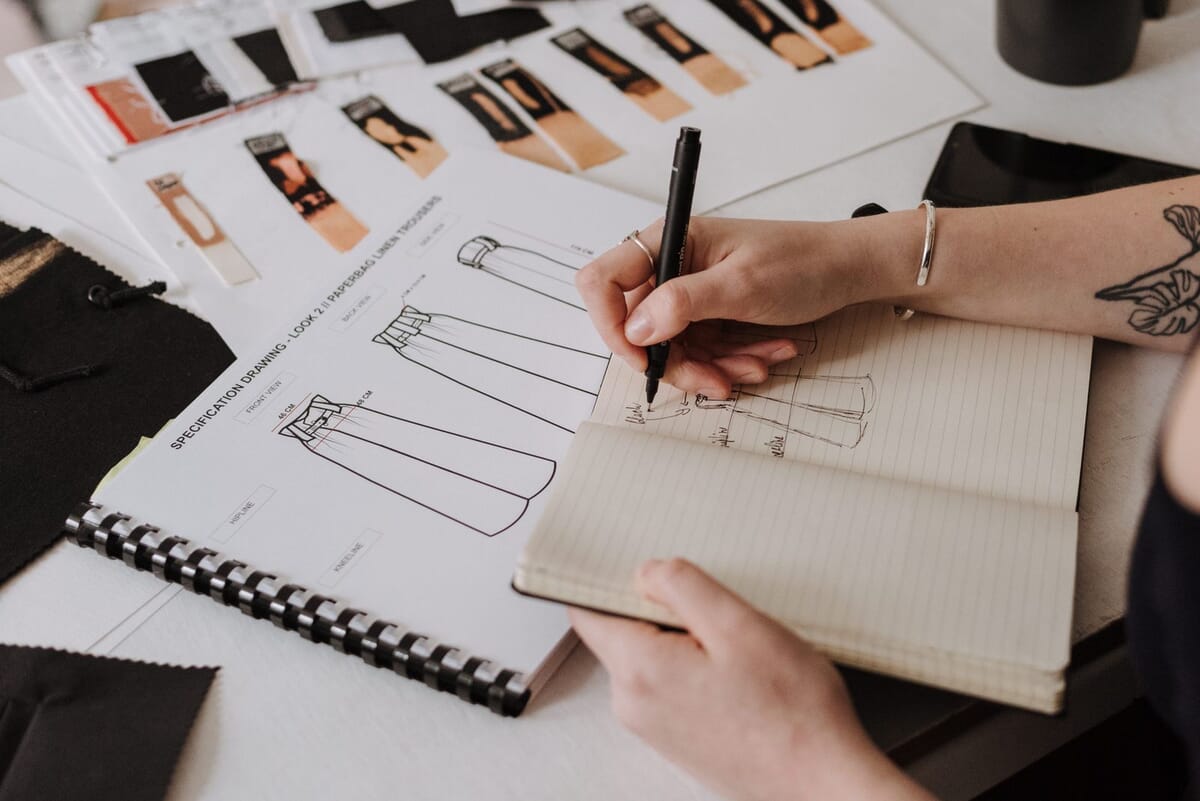
A crewneck sweatshirt looks like the easy garment. No hood, no zip, no pocket. That's why first samples come back with a tight neck, baggy cuffs and a body that shrank. A complete tech pack covers flats, bill of materials, measurements, construction and revision history, and a sweatshirt uses every part of it.
I lead technical development for the brands GarmentSpec works with. This guide covers what a sweatshirt tech pack has to say, from fleece and shrinkage to rib, stitches, points of measure, grading and sample comments. If you'd rather hand it off, our tech pack service builds it for you.
Key Takeaways
- A sweatshirt needs the same tech pack sections as any garment. Neck, rib and fleece carry most of the risk.
- Name the fleece, a target GSM with a tolerance, and the fibre split.
- Set a shrinkage limit against a named test such as AATCC TM135.
- Give every rib a cut ratio, a finished height and a stretched measurement, and every seam an ISO 4915 stitch number.
- Put a tolerance on every point of measure. Inspection at AQL 2.5 (QIMA) checks exactly what you wrote.
New to the format? Read what a tech pack is first, then open the free tech pack template and fill it in as you go.
How is a sweatshirt tech pack different from a hoodie or sweater spec?
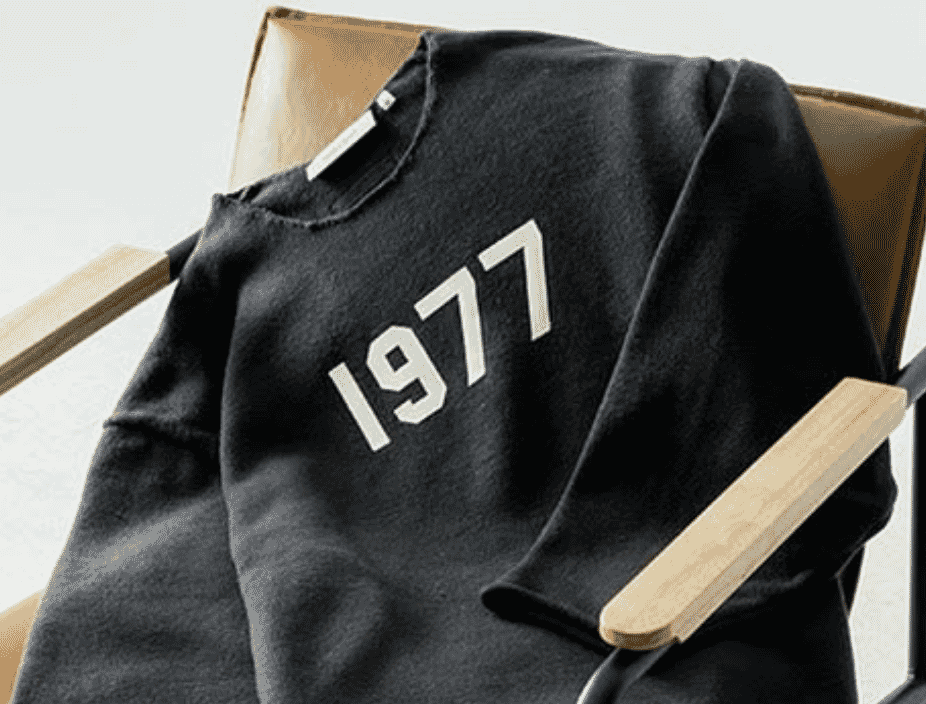
A sweatshirt is cut-and-sew fleece: the fabric is knitted as yardage, cut into panels and sewn. It needs the same tech pack sections as any garment, but the detail goes into the neckline, rib and fleece rather than a hood or a knitting programme.
A hoodie adds a hood, pouch, drawcord and eyelets, which our hoodie tech pack guide covers. A sweater is knitwear, knitted to shape and specified by yarn and gauge, as in our sweater tech pack guide. The crewneck sits in between: knit fabric, cut and sewn like any other roll.
| Spec area | Crewneck sweatshirt | Hoodie | Sweater |
|---|---|---|---|
| Fabric | Fleece yardage, GSM | Fleece yardage, GSM | Yarn, gauge, stitch |
| Neck | Rib band, V insert, back neck tape | Hood sewn at neckline | Knitted trim, linked or sewn |
| Front | Plain | Kangaroo pouch | Plain or textured |
| Biggest risk | Neck stretch, rib, shrinkage | Hood proportion, pouch | Gauge, weight, pilling |
Brushed-back or loopback: which fleece should you specify?
Name it in the BOM. Loopback fleece, often sold as French terry, keeps the knitted loops intact on the back. Brushed-back fleece has those loops brushed into a soft nap. From the face they can look almost the same, so write the construction, a GSM measured under ASTM D3776 (mass per unit area) and the fibre split.
Brushed-back fleece
Brushed-back is the warm, soft, classic winter crewneck. The brushing traps air, so it feels heavier than its weight suggests. It also sheds loose fibre in the first washes, and some yarns pill. If the hand matters, approve a physical swatch, because "brushed" covers a light sanding and a deep nap alike.
Loopback fleece and French terry
Loopback has a drier, cleaner inside and a flatter drape. It suits garment-dyed and washed styles and works across more of the year. Spec the loop side as the inside, and say if you want a heavier loopback. A thin French terry and a heavy loopback are different fabrics that share a name.
GSM and composition
Write a target GSM with a tolerance, such as "340 GSM ±5%". As a rough guide, many brands treat around 250 to 300 GSM as midweight and 350 GSM upward as heavyweight. These are typical trade bands, not a standard. Then state the fibre split, such as 100% cotton or 80/20 cotton/polyester.
Don't assume cotton. Polyester made up 59% of global fibre production in 2024 and cotton 19%, according to Textile Exchange's Materials Market Report (Apparel Resources, 2025). Blends are what most mills keep on the shelf. If you want all-cotton fleece, the tech pack has to say so.
How do you spec shrinkage and pre-treatment?
Write a maximum shrinkage, the test method and the wash settings. AATCC TM135 measures length and width change in fabrics after home laundering, using set washing temperatures, agitation cycles and drying procedures (AATCC). Without a named method, "low shrinkage" means whatever the mill decides it means.
Fleece usually shrinks more in length than in width, so a body that's fine on the chest can come back short. A common working target is 5% or less in each direction, but agree the figure with the mill and test the bulk fabric, not just the sample yardage. Test the rib too. It's knitted separately and can shrink at a different rate.
Then state the pre-treatment: compacted fabric, enzyme wash, garment wash or garment dye. Garment-dyed styles shrink in the dye bath, so the pattern needs a shrinkage allowance, and your measurements must say they're taken after washing. One easy miss: polyester thread doesn't take the reactive dyes used on cotton. On a garment-dyed crewneck, spec cotton thread or accept contrast seams.
How do you spec a crewneck neckline?
Treat the neck as its own sub-assembly. Spec neck width, front and back drop, rib structure and finished height, the rib cut ratio, a minimum stretched opening, the attaching stitch, the back neck tape and any V insert.
Neck rib height and ratio
Say whether the rib is 1x1 or 2x2 and give its finished height. A neckband is cut shorter than the neckline it's sewn into, so it pulls in and lies flat. A typical starting point is roughly 85 to 90% of the neck seam length for a firm rib with elastane. It's a typical figure, not a rule, so confirm it on the first sample.
Too long, and the band ripples and stands away from the neck. Too short, and the opening won't clear a head, so add a minimum stretched neck opening to the points of measure.
V insert or V-stitch
The V at the centre front neck comes in two forms. A true V insert is a small rib triangle set into a cut-out below the neckband. A V-stitch is rows of coverstitch forming a V on the body fabric. Spec which one, its depth, its width at the top, and whether it's front only or front and back.
Back neck tape and shoulder tape
Back neck tape covers the neck seam allowance from shoulder to shoulder, so it doesn't scratch and the seam doesn't stretch. Spec the material (self-fabric binding or herringbone twill tape), its finished width, colour and the stitch that holds it. On set-in sleeves, say whether the shoulder seams get a stabilising tape too.
Should the sleeves be raglan or set-in?
Pick one on the flat and write it in the construction notes, because it changes the pattern, the points of measure and the stitching. A set-in sleeve joins the body at a shoulder seam and an armhole. A raglan sleeve runs a diagonal seam from the underarm to the neckline, so there's no shoulder seam at all.
- Set-in: a sharper shoulder line. Spec shoulder width and armhole depth. For a boxy fit, state how far the shoulder point drops off the natural shoulder.
- Raglan: more freedom of movement and an athletic or vintage look. The neck rib crosses four seams, so spec how the seam allowances lie. Sleeve length is measured from centre back neck, not from a shoulder point.
How should cuff and waistband rib be specified?
Give each rib position four numbers: finished height, relaxed width, stretched width, and the cut ratio against the opening it finishes. Add the rib structure and composition. Stretch and recovery live in those numbers.
The ratio sets the silhouette. A hem rib cut well short of the body gives a blouson pull-in; one cut close to it hangs straight. Typical starting points sit around 80 to 90% of the opening, with cuffs pulled in harder than the hem. Typical finished heights run about 6 to 8 cm at the cuff and 6 to 9 cm at the hem. Heavier fleece usually wants a taller rib.
Recovery is measured, not described. List the relaxed and extended width of each cuff and the hem in the points of measure. On the sample, stretch the rib, release it and re-measure. If it doesn't recover, it needs more elastane or a tighter knit.
One more line people forget: rib colour. Rib is knitted and often dyed separately from the body fleece. Ask for both to be dyed together, or approve lab dips for body and rib side by side under the same light.
Which stitch types does a sweatshirt need?
Name each seam with its ISO 4915 stitch number, not a word like "overlock". Coats' stitch guide describes 504 as three-thread overedge for serging and joining plies, 406 as a twin-needle coverseam mainly used for hemming knitted garments, and 607 as a flatseam with four needles, one looper and a top cover thread (Coats).
| Seam | Typical stitch (ISO 4915) | Why |
|---|---|---|
| Shoulder, side, sleeve, armhole | 514 four-thread overedge | Joins and neatens a stretchy knit in one pass |
| Neck, cuff and hem rib attach | 514 four-thread overedge | Stretches with the rib |
| Neck topstitch, back neck tape | 406 twin-needle coverseam, or 602 with top cover | Flat, elastic, holds the allowance down |
| Decorative raglan seams | 607 flatseam | Flat, no bulk, visible on the face |
| Labels, bar-tacks | 301 lockstitch | Secure, same on both sides |
These are typical choices, not the only correct ones. State the number, let the factory propose alternatives in writing, and add stitch density and thread per seam.
Flatseam has a cost. Coats notes that 607 uses about 32 metres of thread per metre of seam (Coats). Save it for feature seams.
Citation capsule: A crewneck sweatshirt typically joins panels and rib with 514 four-thread overedge, topstitches the neck with a 406 twin-needle coverseam, and may use a 607 flatseam on raglan seams, which Coats says uses about 32 metres of thread per metre of seam.
Where do prints and embroidery go?
Place artwork from fixed points: down from the high point shoulder (HPS) and across from centre front, with the artwork's width and height at the base size. Say whether the artwork scales across sizes.
Then name the technique and its spec. For screen print, give ink type (plastisol, water-based or puff), colour references and print size. For embroidery, give stitch count, thread colours and backing. Fleece stretches, so dense embroidery needs a stable backing, or the face puckers around the design. Say whether you print panels or finished garments, and before or after any garment dye.
What labels and trims does a sweatshirt need?
For the US market, the FTC says textile labels must show fibre content, country of origin, and the manufacturer or dealer's identity. On garments with a neck, the origin label goes on the inside centre of the neck. Care instructions come under a separate FTC rule (FTC).
So spec every label as a component with a position:
- Main label: woven or printed, size, fold type, and where it sits on the back neck tape.
- Care and content label: material, wording and side seam position, measured up from the hem.
- Tagless print: if used, ink, size and position inside the back neck.
- Packaging: hang tag, fastener, fold method and polybag.
Other markets have their own rules, so check yours before ordering labels.
What points of measure does a crewneck sweatshirt need?
A crewneck needs body, sleeve, rib and neck measurements, each with a how-to-measure note and a tolerance. Base sizes start from body data, such as ASTM D5585-21's body-measurement tables for women's misses sizes 00 to 20 (ASTM), plus your own ease. The tolerances below are typical working values, not a standard.
| Point of measure | How to measure | Typical tolerance |
|---|---|---|
| A. Body length | HPS straight down to the bottom edge of the hem rib | ±1.5 cm |
| B. Chest width | Side to side, 2.5 cm below the armhole, garment flat | ±1 cm |
| C. Neck width | HPS to HPS, seam to seam | ±0.5 cm |
| Front neck drop | From the HPS line down to the neck seam at centre front | ±0.5 cm |
| Back neck drop | From the HPS line down to the neck seam at centre back | ±0.3 cm |
| Neck rib height | Neck seam to rib edge | ±0.2 cm |
| Neck opening, stretched | Inside edge fully extended | Minimum only |
| Shoulder width (set-in) | Shoulder point to shoulder point | ±1 cm |
| D. Sleeve length | Set-in: shoulder point to cuff edge. Raglan: centre back neck to cuff edge | ±1 cm |
| Armhole, straight | Shoulder point to underarm point | ±1 cm |
| Bicep width | 2.5 cm below the underarm, across the sleeve | ±0.75 cm |
| F. Cuff opening | Relaxed, and again fully extended | ±0.5 cm / ±1 cm |
| Cuff rib height | Cuff seam to edge | ±0.3 cm |
| Bottom width | Hem rib edge, relaxed and extended | ±1 cm / ±1.5 cm |
| E. Hem rib height | Hem seam to edge | ±0.5 cm |
| Print placement | HPS to top of artwork; centre front to artwork centre | ±0.5 cm |
State whether each figure is a half or full measurement, and whether it's before or after washing. Our guide on how to measure garments shows each point step by step.
How should a sweatshirt grade across sizes?
Grade each point at its own increment. Body-measurement tables like ASTM D5585-21 (ASTM) show bodies don't grow evenly, so a single percentage across every row distorts the extremes. A neck that grows at the chest rate gapes on a 2XL and fails to clear a head on an XS.
As typical starting points, not a standard: half chest grows about 2 to 2.5 cm per size, body length 1.5 to 2 cm, sleeve 1 to 1.5 cm, neck width 0.5 to 1 cm, and front drop around 0.5 cm. Rib heights usually stay the same across the run. Build the grade rules from your own size chart; the size chart generator gives you a clean base.
What goes in the BOM and colourways?
The bill of materials lists every physical input, each with supplier reference, composition, weight, colour and where it's used.
| Component | What to state |
|---|---|
| Body fleece | Construction, GSM ±%, composition, shrinkage limit |
| Rib (neck, cuff, hem) | 1x1 or 2x2, composition with elastane %, weight |
| Back neck tape | Material, width, colour |
| Thread | Fibre, ticket size, needle and looper colours |
| Labels | Main, size, care and content: material, size, position |
| Artwork | Technique, ink or thread, size, placement |
| Packaging | Hang tag, fastener, polybag, fold |
Colourways sit on top of the BOM. For each colourway, give a colour reference for body, rib, tape, thread, labels and artwork. Use a Pantone code or a lab dip number, never just "navy". Say which parts stay fixed across colourways.
How do you write sample comments a factory can act on?
Measure every point on the sample, record spec, actual and difference, then flag anything out of tolerance. Write one comment per issue with the fix as a number. It matters later, too: bulk inspection is commonly run at AQL 2.5 for general consumer goods, with critical defects typically held at zero (QIMA).
A good comment reads: "Neck rib height 3.2 cm, spec 2.5 cm. Reduce to 2.5 cm." A bad one reads: "Neck looks thick." Add photos with a tape measure in frame. Wash the sample to your stated method and re-measure before you approve fit.
If fit rounds are where you get stuck, our fit comments service writes them in the format a pattern maker can work from.

What are the most common sweatshirt tech pack mistakes?
Most crewneck rejections trace back to a missing number, not a sewing fault:
- Fleece named by feel. "Soft, heavy fleece" with no construction, GSM or fibre split.
- No shrinkage method. No limit, no test, and no note on whether measurements are before or after washing.
- Neck rib without a ratio. No cut ratio and no minimum stretched opening.
- Sleeve type contradicts the POM. A raglan flat with a shoulder-point sleeve length.
- Stitches written as words. "Overlock" instead of 514.
- Artwork placed by eye. "Centre chest" with no distance from HPS.
- Flat grading. Neck and rib graded at the chest rate.
Our tech pack mistakes guide covers the failures that hit every category. Before you send the file, run it through the tech pack checker.
Frequently asked questions
What is a sweatshirt tech pack?
A sweatshirt tech pack is the full build spec for a cut-and-sew fleece crewneck: flats, bill of materials, points of measure with tolerances, construction and stitch types, grading, colourways and revisions. It uses the same core components as any tech pack, with extra detail on fleece, neck rib, cuffs and waistband.
How is a sweatshirt tech pack different from a sweater tech pack?
A sweatshirt is cut from knitted fleece yardage and sewn, so you spec fabric, GSM, seams and stitch types. A sweater is knitwear, knitted to shape and specified by yarn, gauge and knit structure. The two documents share a format but very few of the same specs.
What GSM should a sweatshirt be?
There's no single right weight. As typical trade bands, around 250 to 300 GSM reads as midweight and 350 GSM upward as heavyweight. Pick a target, write it with a tolerance such as ±5%, and name the fleece construction, because loopback and brushed-back feel different at the same weight.
How much shrinkage should a sweatshirt tech pack allow?
A common working target is 5% or less in length and width, but agree the figure with your mill. Name the test method, such as AATCC TM135, the wash settings and the number of washes, and state whether your points of measure are taken before or after washing.
The bottom line
A crewneck has fewer parts than a hoodie, so each one carries more weight. Name the fleece, test the shrinkage, give every rib a ratio and a stretched measurement, write stitches as numbers, and put a tolerance on every point of measure.
Start from the pillar guide for the full system, or grab the free tech pack template and build your sweatshirt spec today.
Peter Midea is GarmentSpec's technical lead for brand development.
We build the factory-ready spec a manufacturer can quote from without a single question: technical flats, bill of materials, graded points of measure with tolerances, colorways and construction notes. $299 per style, 3 to 5 working days, 2 to 3 revision rounds.
Get your tech pack — $299Start with the free templateWe don't take your production. The spec is yours to send to any factory, anywhere. Talk to us first if you're not sure what you need.
Sources
Every statistic and definition in this article traces to one of the following. Each is listed once here, and cited inline where it is used.
- QIMA
- ASTM International, D3776
- Apparel Resources (Textile Exchange Materials Market Report)
- AATCC, TM135
- Coats
- Federal Trade Commission
- ASTM International, D5585-21
Related guides
- Tech packs: the complete guide
- Sweatpants & shorts tech pack
- T-shirt tech pack
- Streetwear tech pack
- Free tech pack template