Pick a garment and a point of measure: the line lights up on the flat and the steps tell you where the tape starts and stops. Then print a blank measurement chart for your sample.
Free tool · No sign-up · Nothing leaves your browser
Hand finishing along a shirt placket
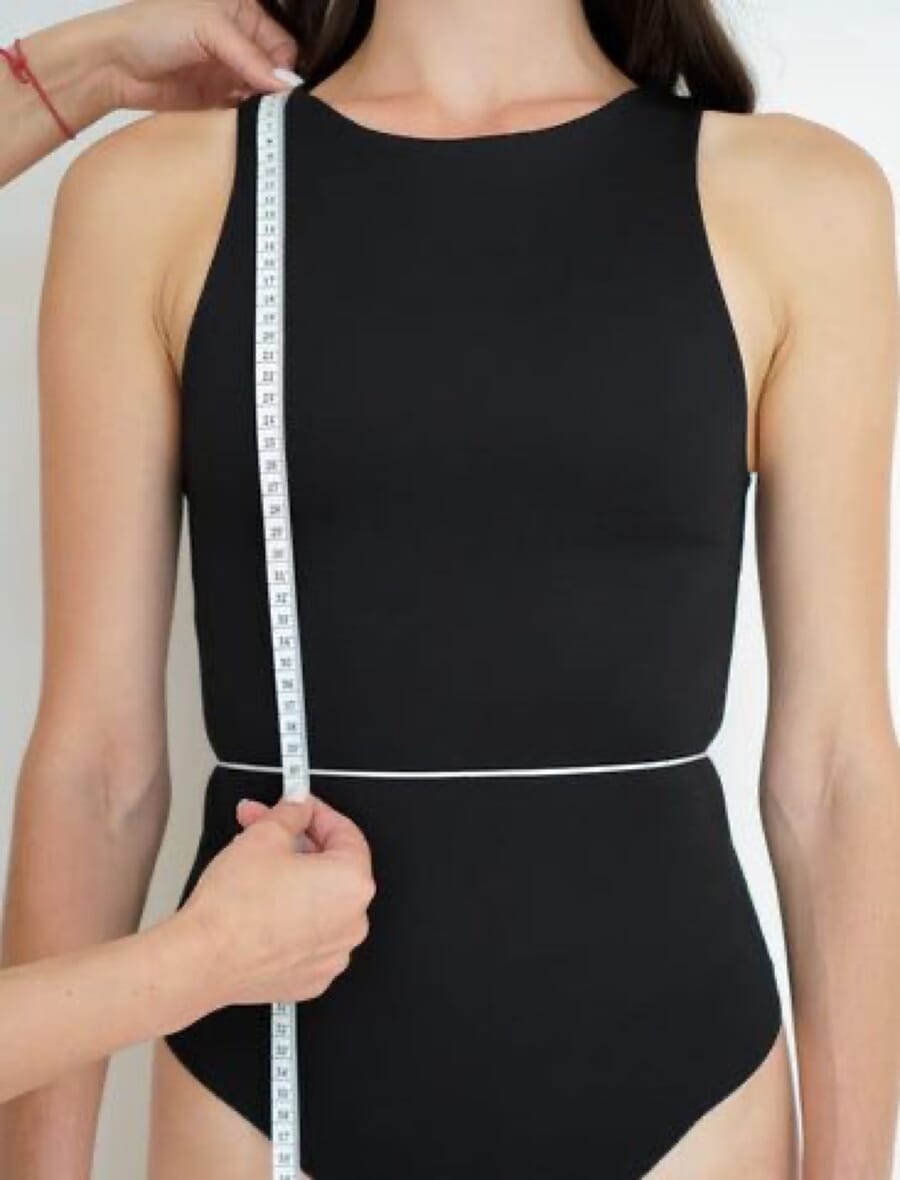
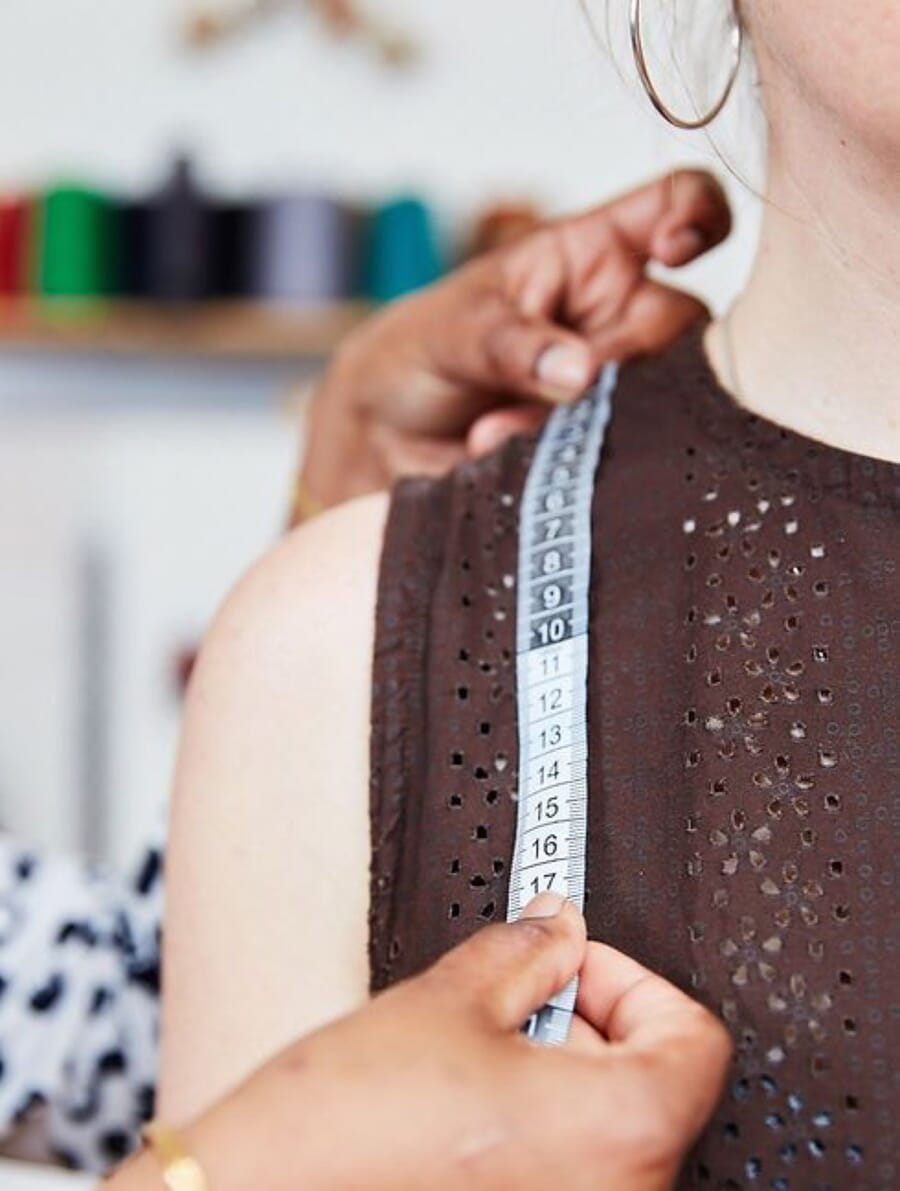
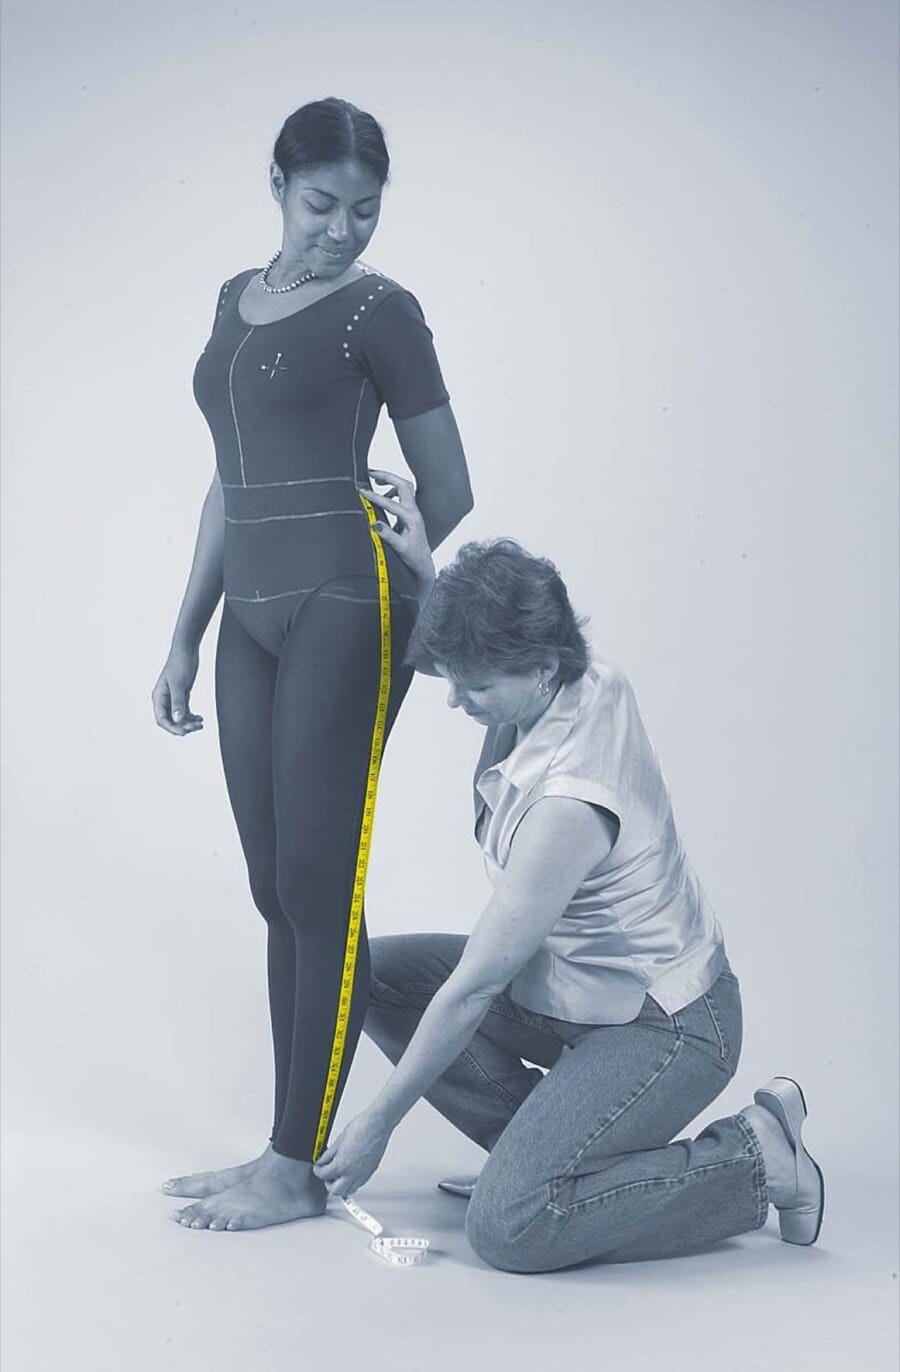
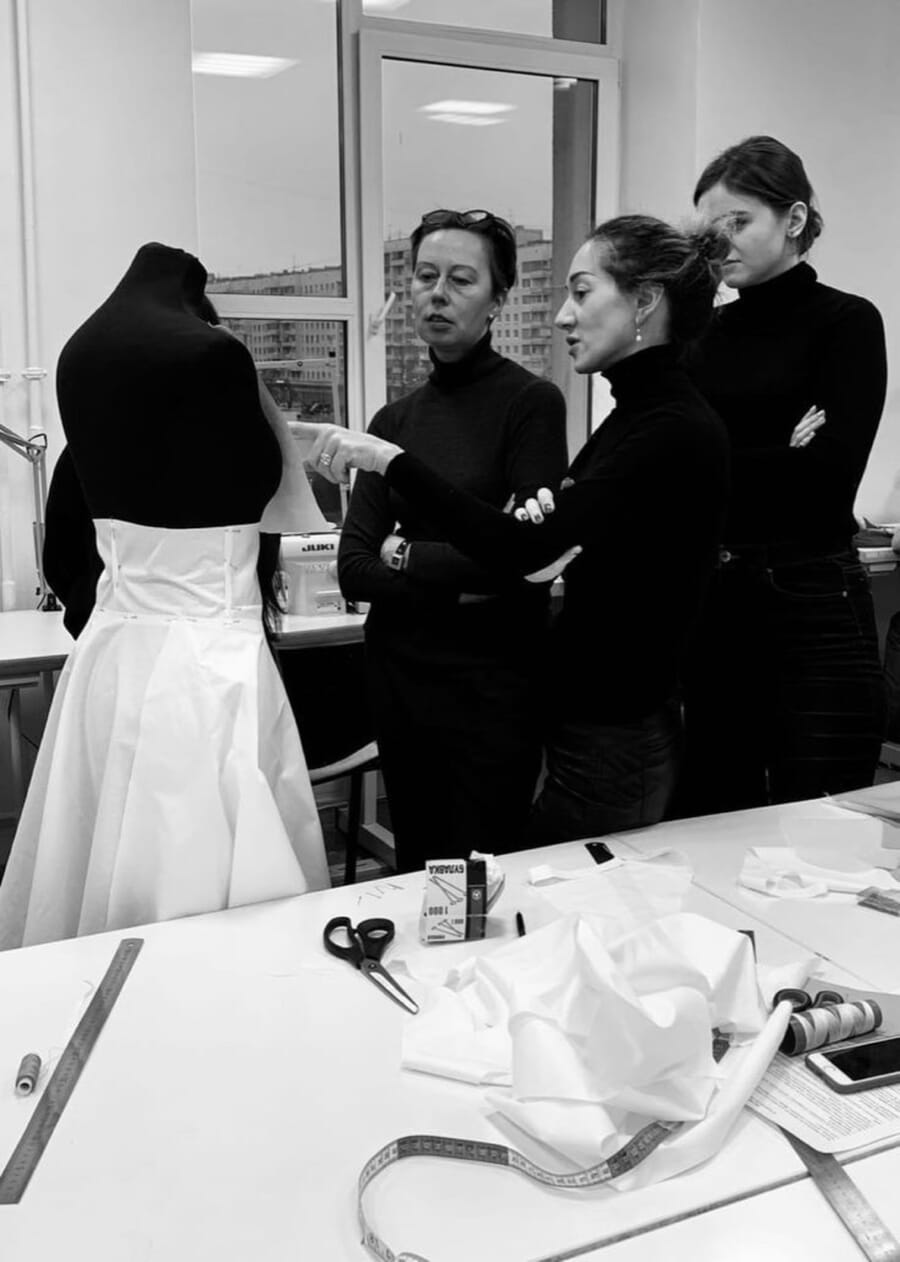
Studio work: measuring the waist; checking the shoulder seam.
Points of measure
Pick a garment, then a point: see exactly where to measure.
Each red line is one point of measure (POM). Tap a line or a name to light it up and read where the tape starts and stops. Lay the garment flat on a table, smooth it without stretching, and measure twice.
How to measure: a t-shirt
Front view. Half measurements are taken flat, edge to edge.
Lay the tee flat, front up, smoothed but not stretched. Measure straight across from side seam to side seam, 2.5 cm (1 in) below the armhole.
Start at the high point shoulder (HPS), where the shoulder seam meets the neck rib. Measure straight down, parallel to the centre front, to the hem edge.
Measure straight across the back from one shoulder point (where the shoulder seam meets the sleeve seam) to the other.
From the shoulder point, measure along the top fold of the sleeve to the sleeve hem edge.
Measure straight across the sleeve hem, edge to edge, with the sleeve lying flat.
Measure in a straight line from the shoulder point to the underarm point where the sleeve seam meets the side seam.
Measure straight across the bottom edge from side to side, relaxed.
Measure straight across from HPS to HPS, seam to seam at the inside edge of the neck rib.
Lay a ruler across from HPS to HPS. Measure straight down at centre front from the ruler to the neck seam.
Blank measurement chart, t-shirt. Fill in your sample, in cm or inches
POM
Point of measure
XS
S
M
L
XL
Tol ±
A
1/2 chest
B
Body length from HPS
C
Shoulder width
D
Sleeve length
E
1/2 sleeve opening
F
Armhole, straight
G
1/2 hem
H
Neck width
I
Front neck drop
How to measure: hoodie
Front view. Half measurements are taken flat, edge to edge.
Lay flat, front up. Measure side seam to side seam, 2.5 cm (1 in) below the armhole.
From the HPS straight down to the bottom edge of the hem rib.
Straight across from shoulder point to shoulder point.
From the shoulder point along the top of the sleeve to the cuff edge.
Straight across the cuff edge, relaxed, not stretched. Measure stretched separately if your spec needs it.
Straight across the bottom of the hem rib, relaxed.
From the HPS to the highest point of the hood, with the hood laid flat.
Across the top edge of the pouch pocket, seam to seam.
Blank measurement chart, hoodie. Fill in your sample, in cm or inches
POM
Point of measure
XS
S
M
L
XL
Tol ±
A
1/2 chest
B
Body length from HPS
C
Shoulder width
D
Sleeve length, incl. cuff
E
1/2 cuff, relaxed
F
1/2 hem rib, relaxed
G
Hood height
H
Pouch pocket width
How to measure: jeans and pants
Front view. Half measurements are taken flat, edge to edge.
Button the jeans, lay them flat and measure along the top edge of the waistband, end to end.
Straight across, at the distance below the waist your spec states (for example 18 cm), side to side.
From the top of the waistband at centre front down to the crotch seam, following the seam.
From the crotch seam along the inside leg seam to the hem edge.
From the top of the waistband along the side seam to the hem edge.
Straight across the leg, 2.5 cm (1 in) below the crotch, square to the leg.
Straight across the leg at the knee line your spec states (for example 33 cm below the crotch).
Straight across the hem, edge to edge.
Blank measurement chart, jeans and pants. Fill in your sample, in cm or inches
POM
Point of measure
XS
S
M
L
XL
Tol ±
A
1/2 waist
B
1/2 hip
C
Front rise
D
Inseam
E
Outseam
F
1/2 thigh
G
1/2 knee
H
1/2 leg opening
How to measure: shirt
Front view. Half measurements are taken flat, edge to edge.
Open the collar and lay it flat. Measure from the centre of the button to the far end of the buttonhole.
Button the shirt, lay it flat and measure side seam to side seam, 2.5 cm (1 in) below the armhole.
On the back, from the collar seam at centre back straight down to the hem edge.
Across the back from shoulder point to shoulder point.
From the shoulder point along the top of the sleeve to the cuff edge.
Button the cuff and measure around it, or open it flat from button centre to buttonhole end, as your spec states.
Straight across the bottom, side seam to side seam, at the hem edge or at the side seams on a curved hem.
Blank measurement chart, shirt. Fill in your sample, in cm or inches
POM
Point of measure
XS
S
M
L
XL
Tol ±
A
Collar length
B
1/2 chest
C
Body length, centre back
D
Shoulder width
E
Sleeve length, incl. cuff
F
Cuff length, buttoned
G
1/2 hem
How to measure: dress
Front view. Half measurements are taken flat, edge to edge.
Lay flat and measure side seam to side seam, 2.5 cm (1 in) below the armhole.
Straight across at the waist seam, or at the narrowest point on a dress without one.
Straight across at the distance below the waist your spec states (for example 20 cm).
From the HPS straight down to the hem edge.
Across the shoulder or strap at the shoulder seam.
Straight line from the shoulder point to the underarm point.
Along the hem edge from side seam to side seam, following the curve.
Blank measurement chart, dress. Fill in your sample, in cm or inches
POM
Point of measure
XS
S
M
L
XL
Tol ±
A
1/2 bust
B
1/2 waist
C
1/2 hip
D
Length from HPS
E
Strap or shoulder width
F
Armhole, straight
G
1/2 sweep
How to measure: leggings
Front view. Half measurements are taken flat, edge to edge.
Straight across the top of the waistband, relaxed. Add a stretched measurement if your spec needs one.
Straight across at the distance below the waist your spec states.
From the top of the waistband at centre front to the crotch point, following the seam.
From the crotch point along the inside leg to the hem.
Straight across the leg, 2.5 cm (1 in) below the crotch.
Straight across the leg at the knee line your spec states.
Straight across the hem, relaxed.
From the top edge of the waistband to its seam.
Blank measurement chart, leggings. Fill in your sample, in cm or inches
POM
Point of measure
XS
S
M
L
XL
Tol ±
A
1/2 waist, relaxed
B
1/2 hip
C
Front rise
D
Inseam
E
1/2 thigh
F
1/2 knee
G
1/2 leg opening
H
Waistband height
Want us to do it properly?
In a tech pack every point of measure gets a code, a written how-to, a value for every size and a tolerance, drawn on your own flat. Send us your sample or reference and we spec it.
Lay it flat, smooth it without stretching and measure: 1/2 chest straight across 2.5 cm (1 in) below the armhole, body length from the high point shoulder to the hem, sleeve length from the shoulder point to the sleeve hem, plus shoulder width, sleeve opening, hem and neck.
A point of measure is one defined measurement on a garment, with a code, a name, a written how-to-measure and a tolerance, for example B, body length from HPS. The POM table in a tech pack lists every one, graded for every size.
HPS is the high point shoulder: where the shoulder seam meets the neckline. Body lengths are measured from it, so the length does not change with the neckline shape.
Factories measure garments lying flat, edge to edge, which gives half the circumference. A 1/2 chest of 54 cm is a 108 cm chest all round. Always say which one you mean in the POM name.
For a tech pack, measure the garment: the finished product the factory makes. Body measurements go on your store’s size guide, and the difference between the two is the ease.
Measure to the nearest 0.5 cm or 1/8 in, twice, on a flat, unstretched garment. Then set a tolerance per point, commonly ±0.5 to ±1 cm on body measurements, and tighter on small details like a neck rib.
When you would rather hand it over
The same work, done by our studio.
Free tools cover the parts you can do yourself. For the rest, a technical designer on our team in the USA draws, measures and checks the full tech pack.
.jpeg?cx=0&cy=150&cw=735&ch=560&format=optimal)