Contents
- How should you prepare a hoodie before measu…
- Which points of measure does a hoodie need?
- How do you measure each point on a hoodie?
- What does a full hoodie POM table look like?
- What does a graded hoodie size set look like…
- How does hoodie grading logic work?
- How is a zip hoodie measured differently?
- Which optional points should you add for dra…
- When should you measure cuffs and hem rib re…
- How do you check a hoodie sample against the…
- Frequently asked questions
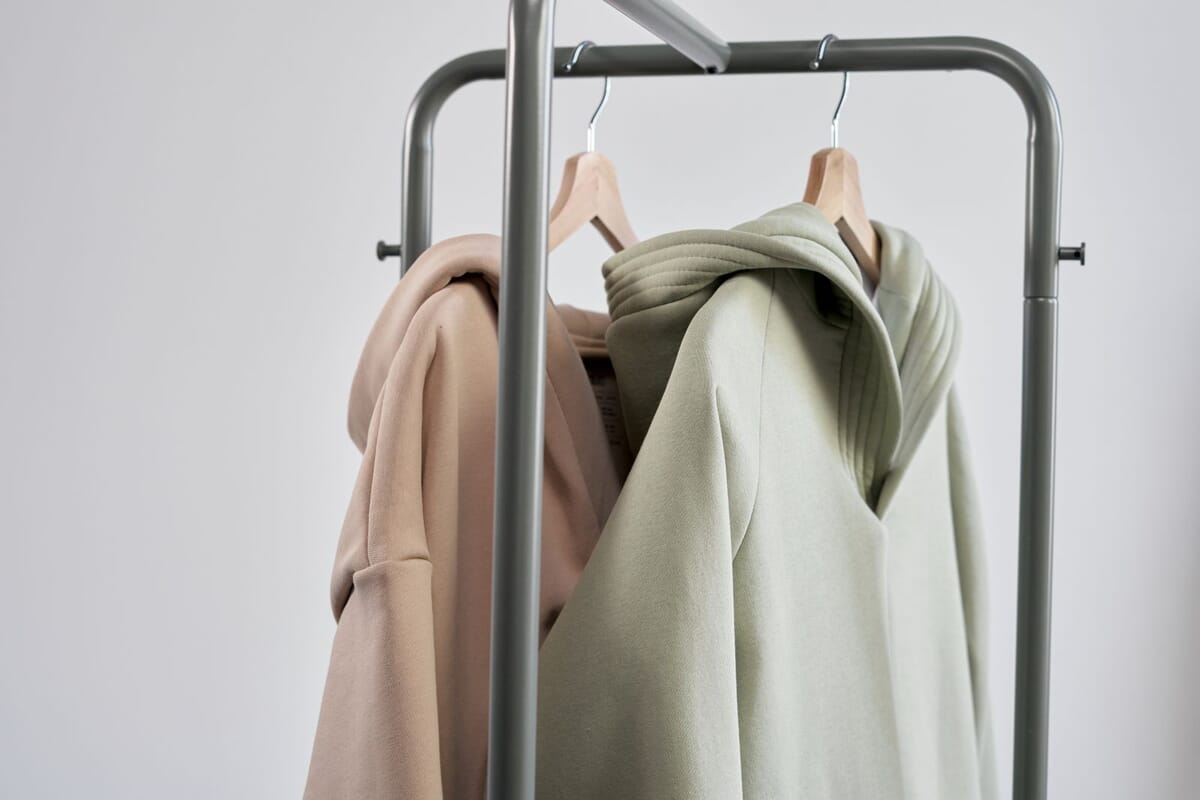
To measure a hoodie for a spec sheet, lay it flat with the zip or front closed, smooth it without stretching, fold the hood flat to one side, and measure 12 coded points: 1/2 chest, body length from HPS, shoulder, sleeve, 1/2 cuff, 1/2 hem rib, hood height, pouch width, 1/2 bicep, cuff height, hem rib height and 1/2 hood width, each with a plus or minus tolerance.
This guide takes the eight codes A to H from our free measuring guide, adds four points a hoodie needs (I to L), and gives the method, the common errors, a tolerance for every point and a full graded size set from XS to 3XL. If you are new to coded points, start with our explainer on points of measure, and if you have already specced a tee, the t-shirt measuring guide uses the same chest and HPS logic.
Key Takeaways
- A hoodie spec needs 12 points: A to H from the measuring guide plus I 1/2 bicep, J cuff height, K hem rib height and L 1/2 hood width.
- Measure flat, smoothed, ribs relaxed; write down where the hood lies and where each sleeve measurement starts.
- In our generator preset (base M) girths grade 2.5 cm a size, 3 cm above XL; the hood grades 0.5 cm; cuff and hem rib heights stay fixed at 7 cm.
- Tolerances run from plus or minus 1 cm on chest, length, shoulder, sleeve, hem rib and hood height to plus or minus 0.3 cm on rib heights.
- Relaxed and extended rib widths are two separate points; never record one under the other's code.
How should you prepare a hoodie before measuring?
Prepare the hoodie so that every person who measures it gets the same garment shape: flat, closed, smoothed and with the hood and ribs in a written position. If two people set the hoodie up differently, they will read different numbers with the same tape.
- Use a flat, hard table large enough for the whole body with both sleeves laid out straight; a sleeve hanging off the edge pulls the shoulder out of shape.
- Close the garment. On a zip hoodie, close the zip fully; on a pullover, check that the front is not twisted against the back by aligning both side seams.
- Lay the hoodie front side up. Smooth from the center outwards with flat hands. Do not pull the fabric to remove waves: fleece and loopback stretch easily, and a pulled chest can grow by more than its tolerance.
- Lay the hood flat. The usual set-up is the hood folded flat to one side (seam on the fold) for hood width and lifted upright and flat for hood height. If your brand uses another position, write it in the spec and keep it for every sample.
- Leave the ribs relaxed. Cuffs and hem rib lie unstretched; any extended value is a separate code, taken after all relaxed points.
Use a flexible tape for curved lines and a long ruler for straight widths. Record values in one unit per chart. This guide uses cm, with inches in brackets for the base size; our size chart generator exports either unit.
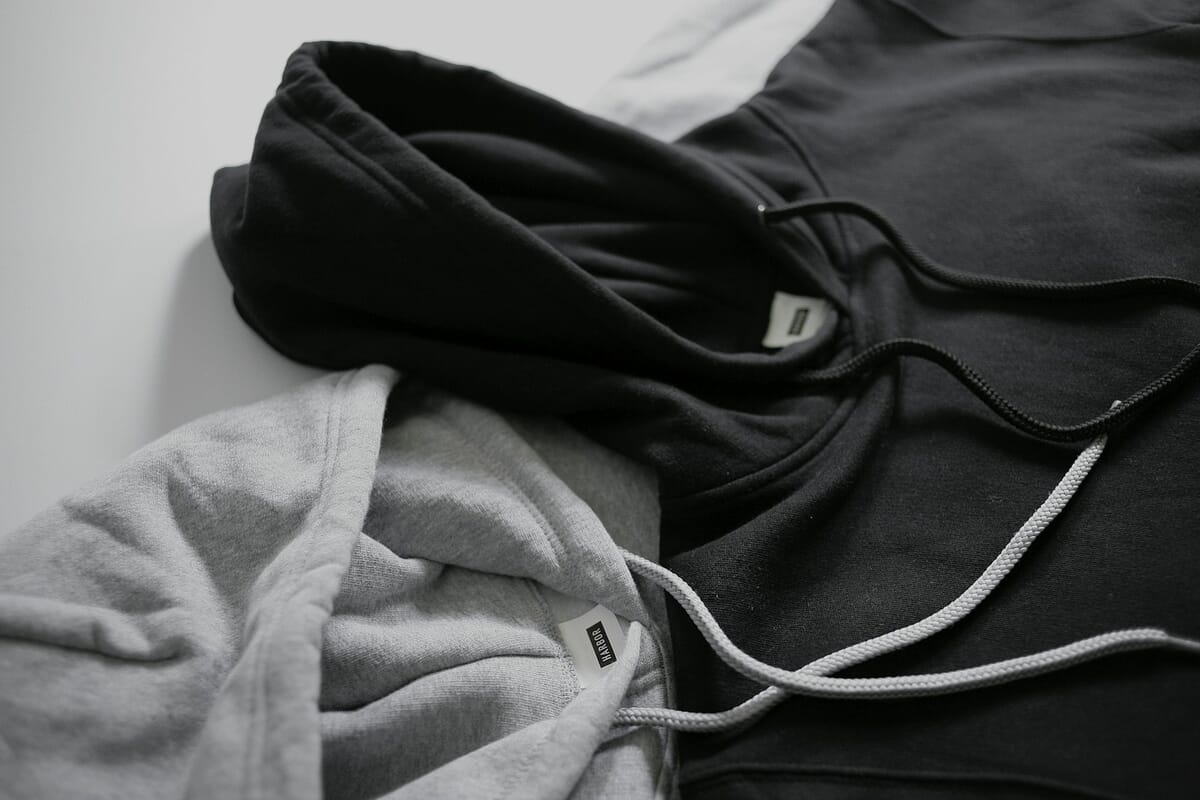
Two hoodies as they land on the table, hoods bunched and drawcords loose: smooth each one out flat before you take a single point of measure.
Our hoodie spec covers 12 points of measure. GarmentSpec's size chart generator hoodie preset uses base size M: 1/2 chest 60 cm, body length from HPS 70 cm, shoulder 50 cm, sleeve 62 cm, 1/2 bicep 22 cm, 1/2 cuff relaxed 9 cm, cuff height 7 cm, 1/2 hem rib relaxed 48 cm, hem rib height 7 cm, hood height 36 cm, 1/2 hood width 25 cm and pouch width 30 cm. These are example values, not a body standard.
Which points of measure does a hoodie need?
A hoodie needs the body points of a sweatshirt plus points for the hood, the rib trims and the pouch, which makes 12 coded points in our preset. The flat below shows the eight lines our measuring guide draws on the hoodie, A to H. Points I to L are added from the generator preset.
The same code must mean the same line on the flat, in the spec table and on the sample report. Our free tech pack templates keep the code, the description and the how-to-measure note in the same row so they cannot drift apart.
How do you measure each point on a hoodie?
Measure each point with a written start point, end point and garment state, in the order body, sleeve, rib, hood and pocket, so that nothing is moved between readings. Each point below has the steps and the common errors to avoid.
A: 1/2 chest
- Find the underarm point where the sleeve seam meets the side seam on each side.
- Move 2.5 cm (1 in) down from the underarm point along the side seam.
- Measure straight across the front, side seam to side seam, at that level.
Errors: measuring at the armhole seam itself instead of 2.5 cm below; letting the tape follow a twisted side seam. On a raglan hoodie there is no shoulder seam, but the underarm point still exists, so the chest method does not change.
B: Body length from HPS
- Find the high point shoulder (HPS): the point where the shoulder line meets the neckline, at the hood seam on a hoodie.
- Drop a straight line down from HPS, parallel to center front (CF).
- Measure to the bottom edge of the hem rib, not to the rib seam.
Errors: starting at the center back neck instead of HPS (that is a different point and gives a different number); measuring to the rib seam, which drops the length by the full rib height; letting the hood pull the neck seam backwards. With the hood lifted and flat, the HPS stays where it is. If the hood weighs the neck down, support it while you measure.
C: Shoulder width
- Turn the hoodie back side up or lay the hood away from the shoulders.
- Find each shoulder point, where the shoulder seam meets the armhole seam.
- Measure straight across the back from shoulder point to shoulder point.
Errors: following the hood seam curve rather than a straight line; measuring on a dropped-shoulder hoodie at the fold of the body instead of at the seam. On a raglan there is no shoulder point, so leave C out or replace it with a raglan point (for example, a front raglan seam length from neck to underarm) and say so in the spec.
D: Sleeve length including cuff
- Lay the sleeve flat, extended from the body without stretching it.
- Start at the shoulder point (the top of the armhole seam).
- Measure along the top fold of the sleeve to the cuff edge, cuff included.
The shoulder construction changes where the sleeve begins, so state the start point:
- Set-in sleeve: start at the shoulder point on the armhole seam, as above.
- Dropped shoulder: the armhole seam sits down the arm, so a sleeve measured from it reads shorter than a set-in sleeve of the same reach. Start at the seam and say so, or measure from CB neck as a separately named point.
- Raglan sleeve: there is no shoulder point. Measure from the neck seam (at the raglan seam, or from CB neck) along the top of the sleeve to the cuff edge, and write the start point in the description.
Our preset value is 62 cm at M, from the shoulder point.
I: 1/2 bicep
- Find the underarm point of the sleeve.
- Measure 2.5 cm (1 in) down from the underarm point along the sleeve seam.
- Measure straight across the sleeve, square to the top fold, edge to edge.
Some specs measure bicep square to the sleeve fold and others parallel to the cuff. On a tapered hoodie sleeve the two lines can differ, so write "square to the top fold" in the description. The bicep is not in the measuring guide's eight lines, which is why it has the code I.
E: 1/2 cuff, relaxed
- Leave the cuff in its natural, unstretched state.
- Measure straight across the cuff opening, edge to edge, at the cuff edge.
Errors: taking the width at the cuff seam rather than the opening edge; flattening the cuff by pulling it sideways. If you need the stretch value (how far the cuff opens for a hand to pass), add a separate point such as "E2: 1/2 cuff, extended" and measure it after all relaxed readings.
J: Cuff height
- Measure from the cuff seam to the cuff edge, square to the edge.
- Take the reading at the top fold, not at the sleeve seam, where the overlap adds bulk.
Cuff height is fixed in every size in our preset (7 cm) and has a tight tolerance (plus or minus 0.3 cm) because a rib that changes height is visible at once. A cuff folded back on itself is measured as the visible finished height.
F: 1/2 hem rib, relaxed
- Leave the hem rib relaxed: do not pull it flat even if it draws in the body.
- Measure straight across the bottom edge, side to side.
The hem rib on a hoodie is usually narrower than the chest, so the body puckers above it. This is expected. Do not smooth out the pucker by stretching the rib. Our preset has the hem rib at 48 cm relaxed against a 60 cm chest at M. If you want the extended width as well, add it as its own point (for example "F2: 1/2 hem rib, extended") with its own tolerance.
K: Hem rib height
- Measure from the rib seam to the bottom edge, square to the edge.
- Take the reading at center front and check it at the side seams.
Like the cuff, the hem rib height is fixed at 7 cm in every size in our preset, with plus or minus 0.3 cm tolerance.
G: Hood height from HPS
- Lift the hood upright and lay it flat, with the hood seam (center seam or panel seam) along the top.
- Start at the HPS where the hood joins the neckline.
- Measure straight up to the highest point of the hood.
Errors: hood folded behind the neck; starting at CF neck instead of HPS; following the curve of the hood edge. Our preset value is 36 cm at M, with plus or minus 1 cm.
L: 1/2 hood width
- Fold the hood flat to one side so that it lies as a single shape.
- Find the widest point, usually about halfway up the hood.
- Measure from the front edge of the hood straight back to the back seam or fold.
Write where the width is taken: "at the widest point" or "at X cm above HPS". Both are valid; mixing them between samples is not. If the hood has a face opening rib or a drawcord channel, measure to the outer edge of that finish.
H: Pouch pocket width
- Lay the front flat with the pouch smoothed against the body.
- Measure straight across the top edge of the pouch, seam to seam.
Width alone does not place a pouch. Add placement points so the pouch lands where the flat shows it:
- Pouch top from HPS: from HPS straight down to the top edge of the pouch.
- Pouch height (top edge to bottom edge at CF) and pocket opening length along each angled edge.
These placement points are not in our preset, because placement depends on the design. Take them from your approved sample and add them as extra rows.
What does a full hoodie POM table look like?
A full hoodie POM table lists each code, the point, the method and the tolerance, with the base size value in both units. The table below uses the hoodie preset of our size chart generator, base size M. Values are an example spec, not a body standard; your fitted sample sets your own values.
| Code | Point | Method | M, cm (in) | Tolerance, cm (in) |
|---|---|---|---|---|
| A | 1/2 chest | Side seam to side seam, 2.5 cm below armhole | 60 (23.62) | ±1 (0.39) |
| B | Body length from HPS | HPS straight down, parallel to CF, to bottom edge of hem rib | 70 (27.56) | ±1 (0.39) |
| C | Shoulder width | Across the back, shoulder point to shoulder point | 50 (19.69) | ±1 (0.39) |
| D | Sleeve length incl. cuff | Shoulder point along top of sleeve to cuff edge | 62 (24.41) | ±1 (0.39) |
| I | 1/2 bicep | 2.5 cm below underarm, square to top fold | 22 (8.66) | ±0.5 (0.2) |
| E | 1/2 cuff, relaxed | Across cuff edge, unstretched | 9 (3.54) | ±0.5 (0.2) |
| J | Cuff height | Cuff seam to cuff edge | 7 (2.76) | ±0.3 (0.12) |
| F | 1/2 hem rib, relaxed | Across bottom edge, unstretched | 48 (18.9) | ±1 (0.39) |
| K | Hem rib height | Rib seam to bottom edge | 7 (2.76) | ±0.3 (0.12) |
| G | Hood height from HPS | HPS straight up to highest point, hood flat | 36 (14.17) | ±1 (0.39) |
| L | 1/2 hood width | Hood folded flat to one side, at the widest point | 25 (9.84) | ±0.5 (0.2) |
| H | Pouch pocket width | Across top edge of pouch, seam to seam | 30 (11.81) | ±0.5 (0.2) |
Garment tolerances are set by the brand and agreed with the factory. Body-measurement standards such as ISO 8559-1 and ASTM D6240 define body dimensions and size designation, not garment points of measure or tolerances.
What does a graded hoodie size set look like from XS to 3XL?
A graded hoodie size set takes the base size values and adds or removes a fixed grade per size for each point, with a larger step above XL on the girths. The table below is the full hoodie preset of our generator, in cm.
| Code | Point | XS | S | M | L | XL | 2XL | 3XL |
|---|---|---|---|---|---|---|---|---|
| A | 1/2 chest | 55 | 57.5 | 60 | 62.5 | 65 | 68 | 71 |
| B | Body length from HPS | 66 | 68 | 70 | 72 | 74 | 76 | 78 |
| C | Shoulder width | 47 | 48.5 | 50 | 51.5 | 53 | 55 | 57 |
| D | Sleeve length incl. cuff | 60 | 61 | 62 | 63 | 64 | 65 | 66 |
| I | 1/2 bicep | 20.5 | 21.25 | 22 | 22.75 | 23.5 | 24.5 | 25.5 |
| E | 1/2 cuff, relaxed | 8 | 8.5 | 9 | 9.5 | 10 | 10.5 | 11 |
| J | Cuff height | 7 | 7 | 7 | 7 | 7 | 7 | 7 |
| F | 1/2 hem rib, relaxed | 43 | 45.5 | 48 | 50.5 | 53 | 56 | 59 |
| K | Hem rib height | 7 | 7 | 7 | 7 | 7 | 7 | 7 |
| G | Hood height from HPS | 35 | 35.5 | 36 | 36.5 | 37 | 37.5 | 38 |
| L | 1/2 hood width | 24 | 24.5 | 25 | 25.5 | 26 | 26.5 | 27 |
| H | Pouch pocket width | 28 | 29 | 30 | 31 | 32 | 33 | 34 |
The chart below plots five of these points across the size range. Body length (B) and sleeve (D) rise in straight lines, 2 cm and 1 cm a size. Chest (A) and hem rib (F) rise 2.5 cm a size to XL, then 3 cm a size to 3XL, which is why their lines bend upward at the top. Hood height (G) barely moves: 35 cm at XS, 38 cm at 3XL.
How does hoodie grading logic work?
Hoodie grading moves the girths most, the lengths less, the hood very little and the rib heights not at all. The grade per size is a design decision for your brand; the logic below is the one built into our generator preset.
Chest (A) and hem rib (F) are girths: 2.5 cm a size to XL, then 3 cm above XL. Because they are half measurements, 2.5 cm on the half is 5 cm on the full circumference. Shoulder (C) grades 1.5 cm, then 2 cm above XL; body length (B) 2 cm; sleeve (D) 1 cm; bicep (I) 0.75 cm, then 1 cm; cuff (E) 0.5 cm; pouch width (H) 1 cm, so the pouch keeps its proportion to the chest. Hood height (G) and hood width (L) grade only 0.5 cm: a hood graded at the body rate grows much faster than the head it has to fit. Cuff height (J) and hem rib height (K) do not grade at all, so the trims look the same on every size.
The bar chart below shows the grade per size step from XS to XL for every point, so you can see at a glance which points move and which stay still.
If you need a different grade, for example a wider step for an oversized fit, change it per point in the size chart generator and export the chart as CSV. For a full explanation of grade rules across a range, see our grading chart template guide. Our size grading service is $89 per style ($49 for a size chart only) if you would rather have it done.
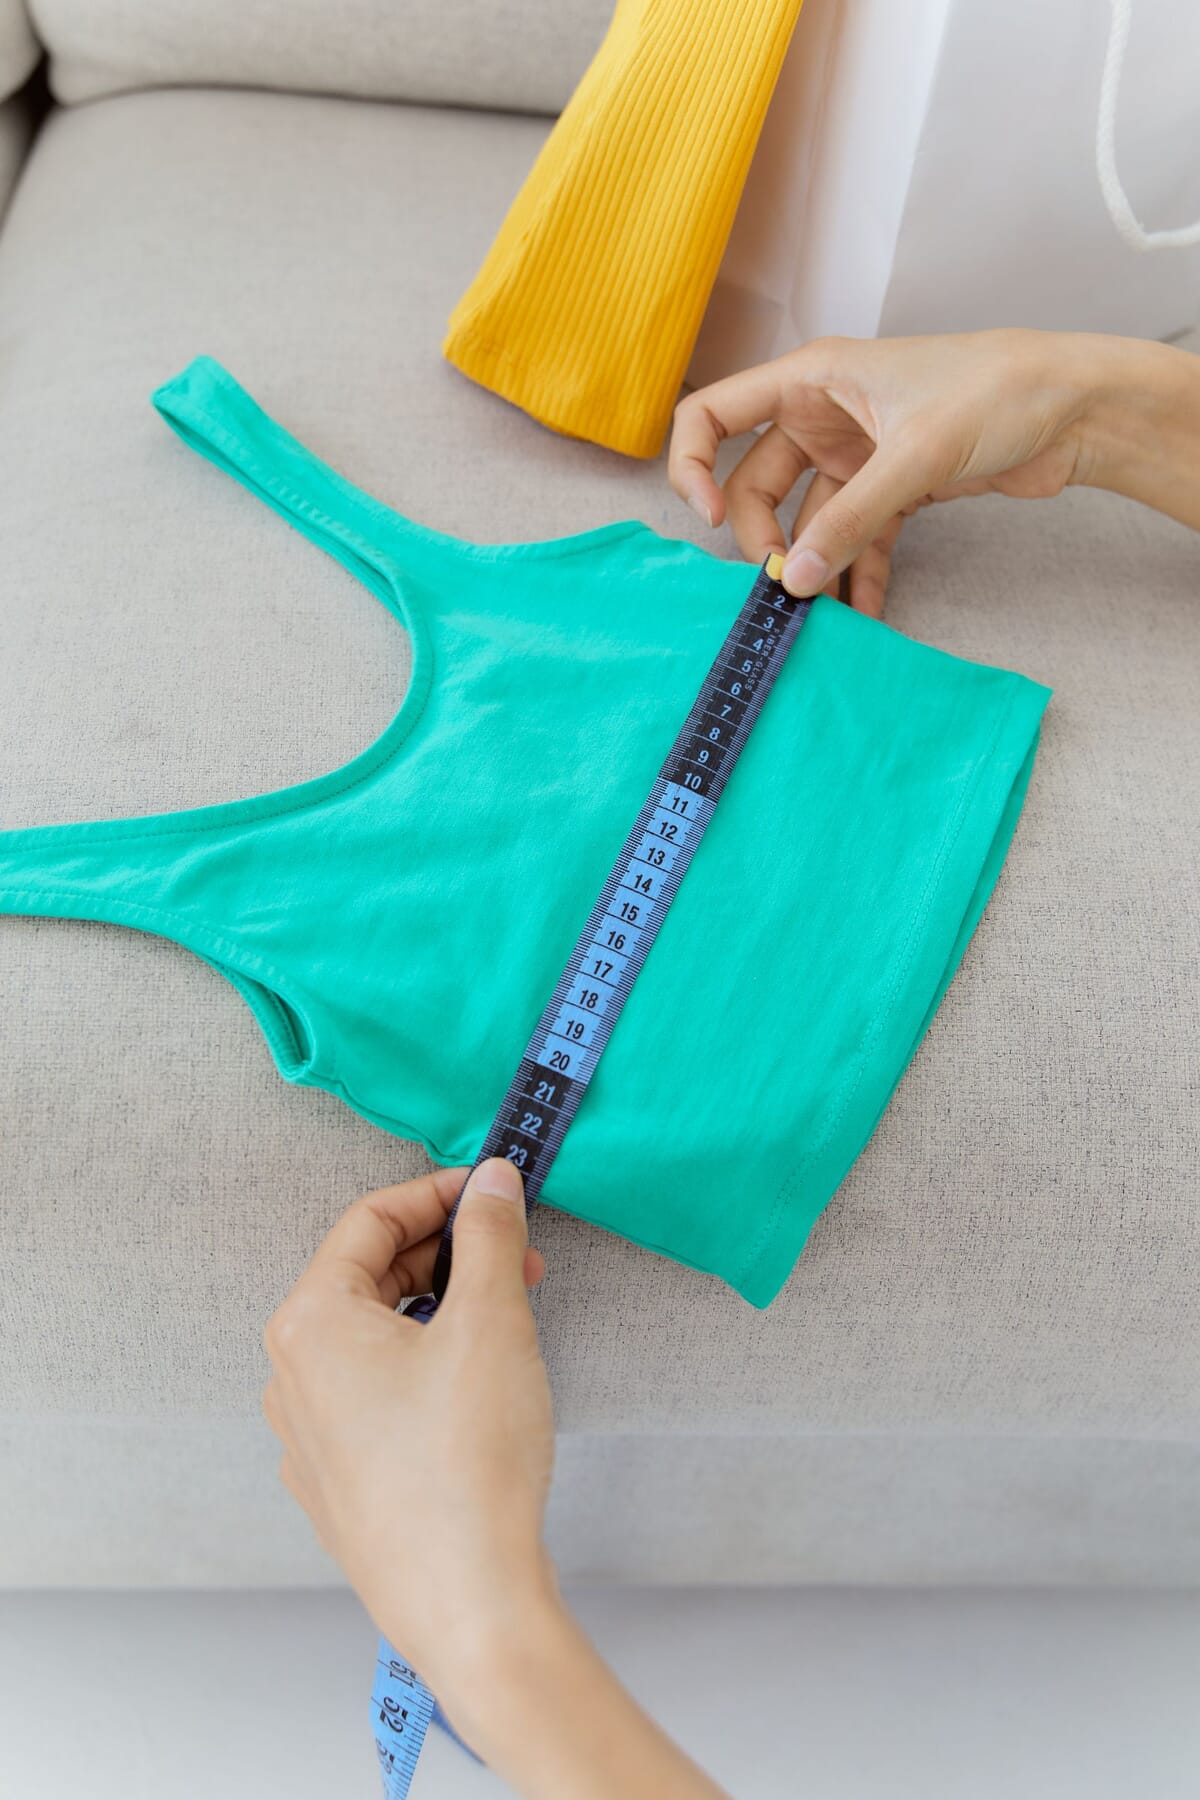
The flat method, shown here on a cropped top: garment smoothed but not stretched, tape held straight from edge to edge. A hoodie is read the same way, with the hood and ribs in their written position.
How is a zip hoodie measured differently?
A zip hoodie is measured with the zip fully closed, and it needs extra points for the zip and the front edges. The body, sleeve, rib and hood points stay the same as on a pullover.
- Close the zip before every reading. The CF is only a line when the zip is closed. With the zip open, the two fronts can overlap or gap, and chest, hem rib and body length all change.
- Zip length: measure the visible zip from the top stop to the bottom stop, or the zip tape length if you are ordering zips. State which one you mean; they differ by the length of the stops and tape ends.
- CF length: neck seam at CF along the zip to the bottom edge of the hem rib; it shows whether the zip pulls the front up.
- Split pockets: measure each pocket and add a "pocket to CF" point so both sit the same distance from the zip.
Zip length belongs in both the bill of materials and the POM table, with the same value. Our sweatshirt tech pack guide covers the crew neck body that shares most of these points.
Which optional points should you add for drawcords and eyelets?
Drawcord length and eyelet position are optional points: add them when the design depends on them, and take the values from your approved sample. They are not in our preset, and there is no single correct value to copy.
- Drawcord length: measure the cord laid straight and relaxed, end to end, including the aglets or tips. Say whether the value includes the tips.
- Drawcord exposed length: with the hood laid flat and the cord pulled evenly, the length that hangs out of each eyelet. This is the length customers see.
- Eyelet position: the distance from the hood front edge to the center of each eyelet, and from the neck seam at CF up to the eyelet center. Both eyelets should be the same distance from CF.
- Eyelet spacing: center to center across the CF, measured with the hood flat.
Give these points their own codes (for example M to Q) and tolerances, and write them down rather than leaving them to the factory. A cord length can carry a looser tolerance than a rib height because the cord shifts in its channel.
When should you measure cuffs and hem rib relaxed or extended?
Always measure cuffs and hem rib relaxed first; add an extended measurement only when the stretch of the rib is part of the fit you want to control. Relaxed is the default state for every rib point in our preset (E and F).
Relaxed shows how much the rib draws in the sleeve or body on the table. Extended shows how far it opens: whether a hand passes through the cuff easily, or how loosely the hem rib sits on the hips. To measure extended, hold one edge of the rib on the ruler and stretch it until it stops giving, without opening the stitches, then read the width. Extended readings depend on the hand of the person measuring, so give them a looser tolerance and their own code and row, for example "E2: 1/2 cuff, extended" next to "E: 1/2 cuff, relaxed". The same applies to a face-opening rib on a hood or a rib waistband on a cropped hoodie.
How do you check a hoodie sample against the spec?
Check a hoodie sample by measuring every point the same way the spec describes, writing the actual value next to the spec value, and flagging any difference outside the tolerance. Do it on the sealed or approved sample size first, then on the other sizes.
- Prepare the sample exactly as described above: flat, closed, smoothed, hood flat in the stated position, ribs relaxed.
- Print the spec with an empty "actual" column and a "difference" column next to the spec value.
- Measure in the same order as the chart. Write each actual value before moving the garment.
- Calculate the difference (actual minus spec). Mark it in or out of tolerance.
- Measure any out-of-tolerance point again; if the readings differ, check the method (start point, hood position, relaxed rib).
- Read related points together (chest with hem rib, sleeve with shoulder) and report with flat photos, POM codes and the agreed corrections.
A worked example: the spec for size M says hood height 36 cm, plus or minus 1 cm. The sample reads 37.5 cm. That is 1.5 cm over and out of tolerance. If the hood was upright and flat, the reading started at HPS and it repeats, the hood pattern needs correcting. If you want a second pair of eyes on a sample, our fit comments service is $89 per style per fit round, and a tech pack check is $49 per style. For spec errors beyond measuring, see tech pack mistakes, and for the full hoodie tech pack (BOM, construction, labels), the hoodie tech pack guide.
Frequently asked questions
How many points of measure does a hoodie need?
A hoodie spec usually needs 12 points: 1/2 chest, body length from HPS, shoulder, sleeve, 1/2 cuff, 1/2 hem rib, hood height, pouch width, 1/2 bicep, cuff height, hem rib height and 1/2 hood width. Add zip length, pouch placement or drawcord points when the design needs them.
Where do you start measuring hoodie sleeve length?
On a set-in sleeve, start at the shoulder point and measure along the top fold to the cuff edge, cuff included. On a dropped shoulder or raglan the start point changes, so write it in the description, for example from shoulder seam or from center back neck.
How do you measure hood height on a hoodie?
Lift the hood upright and lay it flat with its seam along the top. Measure from the high point shoulder where the hood joins the neckline straight up to the highest point of the hood. Never measure with the hood folded behind the neck unless your spec says so.
Should hoodie cuffs and hem rib be measured relaxed or stretched?
Measure them relaxed first, without pulling the rib flat. If the stretch matters for fit, add a separate extended point with its own code and a looser tolerance. Never record one value labelled only as cuff or hem rib.
What tolerance should a hoodie spec use?
In the GarmentSpec size chart generator preset, chest, body length, shoulder, sleeve, hem rib and hood height use plus or minus 1 cm; bicep, cuff, hood width and pouch use plus or minus 0.5 cm; cuff and hem rib heights use plus or minus 0.3 cm. Tolerances are set per brand.
How is a hoodie graded from XS to 3XL?
In our preset, chest and hem rib grade 2.5 cm a size to XL and 3 cm above, body length 2 cm, sleeve 1 cm, hood height and width 0.5 cm, and cuff and hem rib heights stay fixed at 7 cm in every size.
Do you measure a zip hoodie open or closed?
Closed. The center front only exists as a line when the zip is fully closed, so chest, hem rib, body length and hood height are all taken with the zip done up. Add zip length and pocket to center front as extra points.
Peter Midea is GarmentSpec's technical lead for brand development.
Send us your sample, sketch or reference and we spec it: technical flats, bill of materials, coded points of measure graded across your sizes with a tolerance on every line, colorways and construction notes. $299 per style, 3 to 5 working days, 2 to 3 revision rounds. Our team replies within 24 hours.
Get your tech pack, $299Open the measuring guideSources
- ISO 8559-1:2017, Size designation of clothes, Part 1: Anthropometric definitions for body measurement: iso.org/standard/61686 (defines body dimensions, not garment points of measure).
- ASTM D6240/D6240M-24, Standard Tables of Body Measurements for Adult Male, Chest Size Range 34-52 Short, Regular, and Tall: store.astm.org (body measurement tables).
- ASTM D5219-25, Standard Terminology Relating to Body Dimensions for Apparel Sizing: store.astm.org.
- GarmentSpec free measuring guide: hoodie POM codes A to H and the POM lines on the flat.
- GarmentSpec free size chart generator: hoodie preset, base M, grades and tolerances used in every table and chart above.
- GarmentSpec free tech pack templates: hoodie template with PDF and CSV spec sheet.