Contents
- How do you set up to measure?
- Why measure flat rather than on a body?
- Where does each measurement on a top start?
- Where does each measurement on trousers star…
- Which conventions should the chart state?
- How do you record measurements?
- What tolerances should each point carry?
- What goes wrong most often?
- How do you check your own measurements?
- How do you measure a garment you are copying…
- What does a factory do with your measurement…
- Frequently asked questions
Measuring a garment sounds simple, yet it causes more specification disputes than almost anything else. Two careful people measuring the same shirt can get different numbers because they started from different places or held the garment differently. This guide covers the method: how to set up, where each measurement starts, which conventions to state, how to record the numbers and what tolerance each point needs.
If you want to see each point drawn on a flat for a specific garment, use our free how to measure garments guide: pick a t-shirt, hoodie, jeans, shirt, dress or leggings, and each point of measure lights up with where the tape starts and stops.
Key Takeaways
- Measure the garment flat on a hard table, smoothed but not stretched, never on a hanger.
- Most disputes come from where a measurement starts, not from careless reading.
- Half measurements are the convention for chest, waist, hip and hem. Say so in the point name.
- State whether each point is relaxed or extended, and whether the chart is before or after washing.
- Give every point a tolerance and draw it on the flat.
How do you set up to measure?
Flat on a hard surface, smoothed but not stretched, with the right tools.
Use a hard, flat surface
A table, not a bed or a carpet. Soft surfaces let the garment settle unevenly. The table should be longer than the garment, so nothing hangs over an edge and pulls.
Smooth without stretching
Lay the garment down, smooth it from the centre out with flat hands and let it relax. Line up the side seams. Do not pull it taut: a stretched knit reads larger and reads differently every time, so the number cannot be repeated.
Let knits relax first
Jersey and rib that have been folded or packed in a polybag need a few minutes lying flat before they settle. Measuring straight out of the bag gives numbers that change by the time someone checks them.
Use one tape and one unit
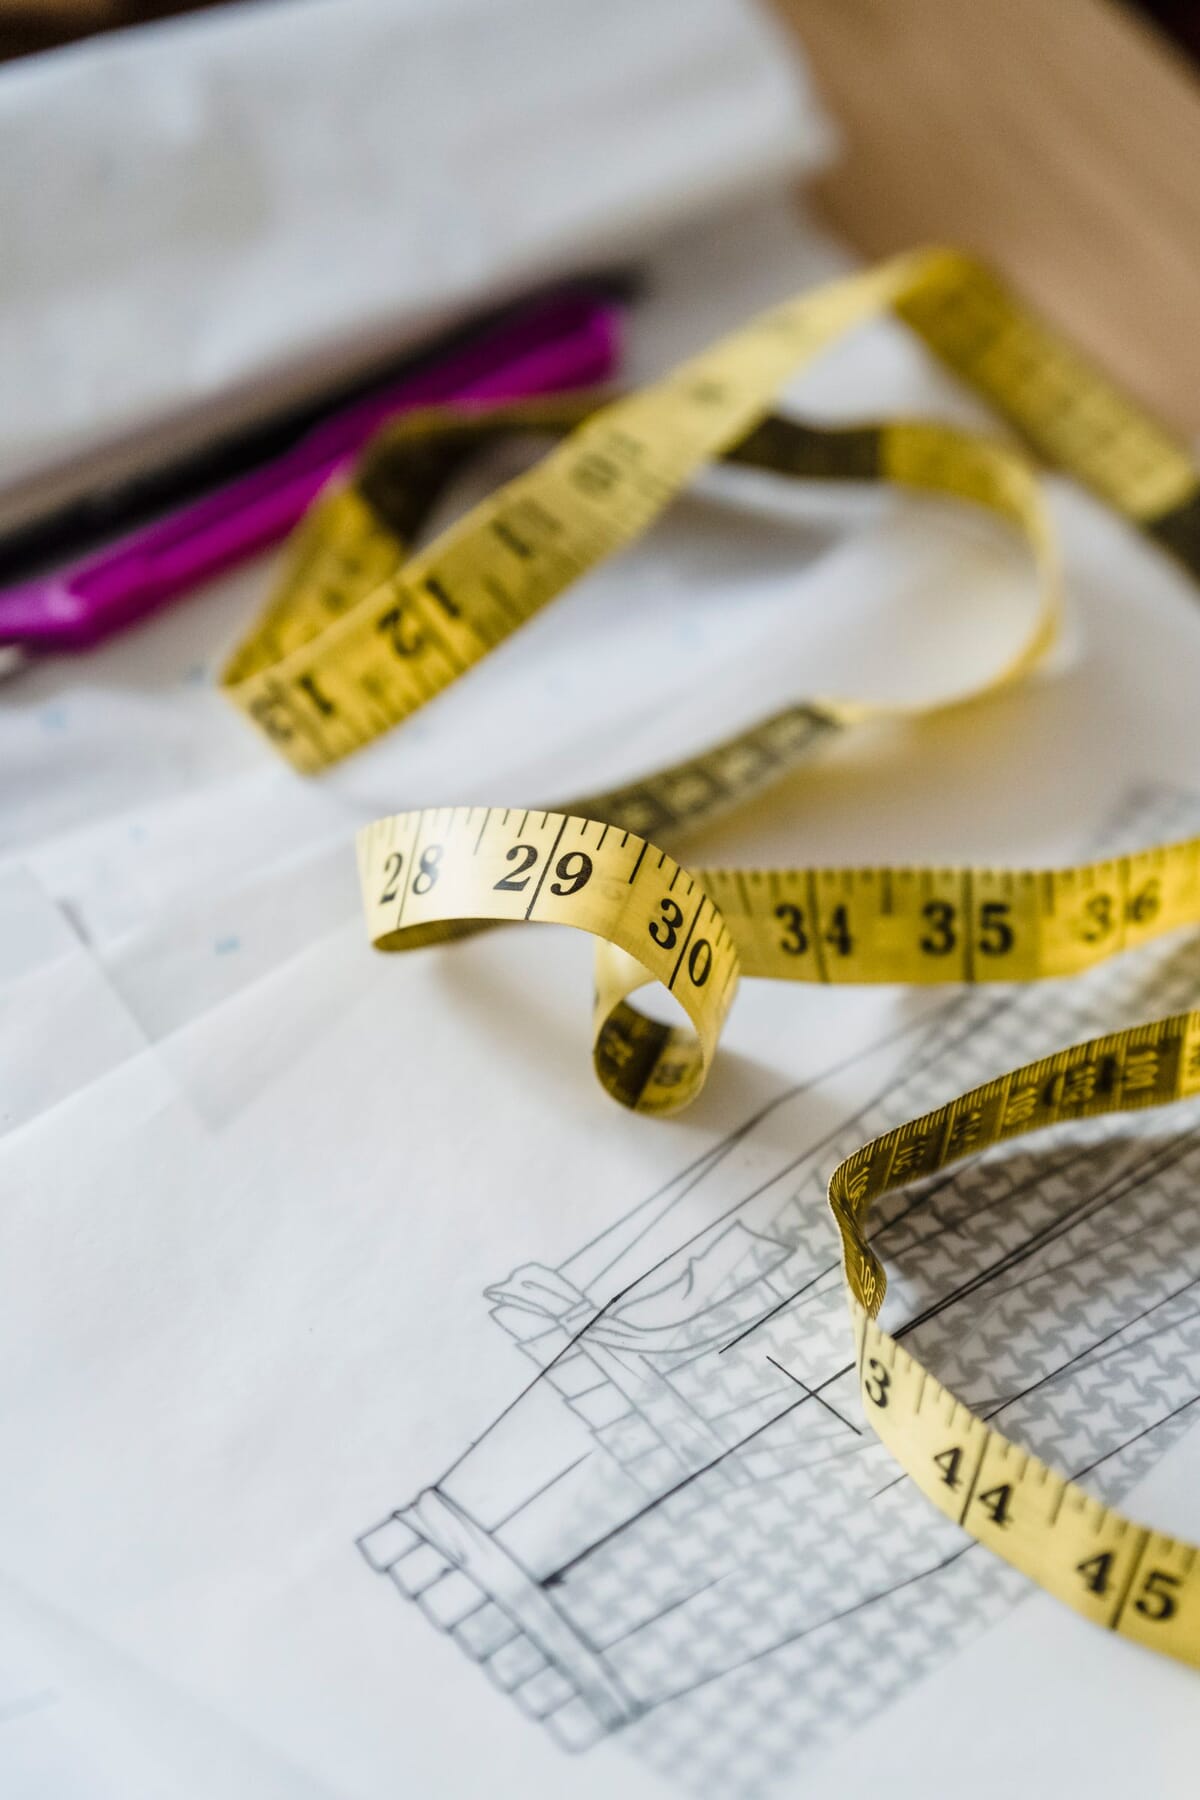
A flexible tape measure that lies flat, in centimetres or inches, not both on one chart. A tape that has been in a sewing kit for years may have stretched, so check it against a ruler. Keep a ruler to hand for the neck drop.
Why measure flat rather than on a body?
Because flat measurement is repeatable and body measurement is not.
Two people measuring the same garment flat, from the same points, get the same numbers. Measuring on a person adds posture, breathing and tape tension. Factories also inspect garments flat, so a specification written in body measurements has to be converted by somebody, and conversion is where errors come in. Body measurements belong in your brand's size spec template, which every style is then graded to.
Body measurements still matter: they tell you how much ease a garment needs. They belong on your store's size guide; the tech pack describes the garment. And never measure on a hanger: a garment hanging from two points stretches in length and narrows across the chest.
Where does each measurement on a top start?
Every point needs a defined start and end. These are the definitions our measuring guide uses for a t-shirt; other tops follow the same logic.
| Point | Where the tape starts and stops |
|---|---|
| 1/2 chest | Side seam to side seam, 2.5 cm (1 in) below the armhole |
| Body length from HPS | From the high point shoulder straight down, parallel to the centre front, to the hem edge |
| Shoulder width | Across the back, from shoulder point to shoulder point |
| Sleeve length | From the shoulder point along the top fold of the sleeve to the sleeve hem |
| 1/2 sleeve opening | Straight across the sleeve hem, edge to edge |
| Armhole, straight | A straight line from the shoulder point to the underarm point |
| 1/2 hem | Straight across the bottom edge, relaxed |
| Neck width | HPS to HPS, at the inside edge of the neck rib |
| Front neck drop | From a ruler laid between the two HPS, straight down to the front neck seam |
Two of these cause most arguments. Body length taken from the HPS and from the centre back neck gives different numbers on the same garment; both conventions are in use (our shirt chart, for example, measures from the centre back collar seam), so name the start point. Armhole can be taken as a straight line, as above, or as a vertical depth from the shoulder point down; again, name it. On a raglan or dropped-shoulder garment there is no shoulder point in the usual place, so sleeve length is often taken from the centre back neck and labelled as such.
Garment measurements for a tech pack are taken flat. Chest is measured side seam to side seam 2.5 cm (1 in) below the armhole as a half measurement; body length runs from the high point shoulder (HPS) to the hem; sleeve length runs from the shoulder point along the top fold to the hem. Naming the start point on each line prevents most measurement disputes.
Where does each measurement on trousers start?
Waist, hip, rise, inseam, thigh, knee and leg opening, each from a stated point.
| Point | Where the tape starts and stops |
|---|---|
| 1/2 waist | Fastened, laid flat, along the top edge of the waistband, end to end |
| 1/2 hip | Straight across, at a stated distance below the waist (for example 18 cm) |
| Front rise | From the top of the waistband at centre front down to the crotch seam, following the seam |
| Inseam | From the crotch seam along the inside leg seam to the hem edge |
| 1/2 thigh | Straight across the leg, 2.5 cm (1 in) below the crotch |
| 1/2 knee | Straight across at a stated knee line |
| 1/2 leg opening | Straight across the hem, edge to edge |
Hip, knee and thigh mean nothing without their distance, so write it into the point name. Front rise and back rise together decide how trousers sit on the body more than any other pair, and the back rise is usually longer; include both. For an elastic waist, record the relaxed and the extended measurement as two separate points.
Which conventions should the chart state?
Half or full, relaxed or extended, before or after washing. A number without its convention can be read two ways, and a factory will pick one.
- Half or full. Chest, waist, hip, hem and openings are conventionally half measurements: a 1/2 chest of 54 cm is a 108 cm chest all round. Put 1/2 in the point name.
- Relaxed or extended. Rib, elastic and stretch fabrics are measured relaxed. If the stretched size matters, add it as its own point, measured the same way every time.
- Before or after washing. Fabric can shrink. Say which state the chart describes, and if you check both, give both.
- Which side. A curved hem has different lengths at centre front, side seam and centre back; an asymmetric garment needs both sides measured. Name the place.
How do you record measurements?
In one table: one row per point, one column per size, a tolerance column and a defined method.
Keep all measurements in one dated, versioned table. Numbers scattered across flats, notes and emails drift out of step the first time something changes. Give every point a code (A, B, C...) and draw the same codes on the technical flat, so the start and end of each line are visible rather than described. A drawing works across every language in your supply chain. Our guide to points of measure lists the standard points for tops and bottoms.
Our free tech pack templates for eight garments each have a points-of-measure page with that garment's points already listed and a tolerance column, plus a CSV spec sheet for sizes XS to 2XL. To grade a base size into a full size chart, use the size chart generator.
These are the five things every row needs:
- A named point, not a region of the garment.
- A stated method: flat, relaxed or extended, and where it starts and stops.
- A value for every size in the range, not only the sample size.
- A tolerance, so an inspector can accept or reject on evidence.
- A code that corresponds to a numbered callout on the technical flat.
What tolerances should each point carry?
A range per point, set by how visible and how structural the measurement is. As a starting point, measure to the nearest 0.5 cm or 1/8 in, and set commonly plus or minus 0.5 to 1 cm on body measurements, with tighter tolerances on small details such as a neck rib.
- Tighter where it shows. Chest, body length and sleeve length are noticed straight away by a customer.
- Tighter on fitted garments. A close fit has no ease to absorb variation, so the same tolerance that is generous on an oversized tee is too loose on a fitted dress.
- Looser where nobody will notice. Some placements on a loose garment can carry a wider range; a tight tolerance everywhere causes rejections and raises the price.
- Never blank. A chart without a tolerance column leaves quality control with nothing to inspect against.
Tolerances matter because of how inspection works. Inspectors measure a sample of garments from the run against your chart, usually under an Acceptable Quality Limit (AQL): according to QIMA, AQL 2.5 is the most common standard for general consumer goods, and 1.0 is used for higher-risk categories. A point without a tolerance has no pass or fail line.
Every point of measure in a tech pack needs its own tolerance. A common starting point is plus or minus 0.5 to 1 cm on body measurements, tighter on small details such as a neck rib and on fitted garments. Inspectors check sampled garments against these ranges, often under AQL 2.5 for general consumer goods (QIMA).
What goes wrong most often?
- Body length from the wrong place. HPS on one sample, centre back neck on the next.
- Measuring under tension. A pulled knit gives a number nobody else will reproduce.
- Mixing full and half measurements without saying which, which can double or halve a width.
- Measuring an unwashed sample when the chart is meant to describe the washed garment, or the other way round.
- No tolerance, so a factory has nothing to check against.
Our article on tech pack mistakes covers the other gaps we see most often when reviewing specs.
How do you check your own measurements?
Measure twice, have someone else measure once, and compare with the factory.
Take every measurement, put the garment aside, then take them all again without looking at the first set. Any point where your two readings differ is a point whose definition is unclear, and worth drawing more carefully on the flat. Then give the garment and the chart to another person and ask them to measure without seeing your numbers. Each difference is a definition problem, and much cheaper to find now than at inspection.
Before production, ask the factory to measure the approved sample and send their numbers. Where they differ from yours, fix the definition. Then keep the approved, sealed sample as the physical reference for any later question about what the numbers meant.
How do you measure a garment you are copying?
Record what the reference measures, then record what you want changed. Keeping the observed and the intended numbers apart means everyone can tell which is which.
- Account for fabric. A reference in a stable woven and your style in a stretch knit will not fit the same at the same measurements.
- Check whether it has been worn. A worn and washed garment has already moved from its original measurements.
- Measurements are not a pattern. A chart describes the finished dimensions; a pattern maker still has to work out the shapes. Our guide to tech packs and patterns explains the difference.
What does a factory do with your measurements?
Builds to them, inspects against them, and fills any gap itself. The pattern maker uses the chart, the fabric and the construction notes to cut the pattern. Points missing from the chart are filled with the factory's own standard proportions, which is why an incomplete chart gives you a garment that is subtly someone else's. At inspection, only what is in the table is checked. A factory that chooses its own armhole because your chart left it out has not made a mistake; the decision was handed to it.
Frequently asked questions
Should I measure a garment flat or on a body?
Flat, on a hard surface, smoothed but not stretched. Flat measurement can be repeated by another person, and factories inspect garments flat. Body measurements describe the wearer; the specification describes the garment, and the difference between the two is the ease.
Where is the chest measured?
Straight across from side seam to side seam, 2.5 cm (1 in) below the armhole, with the garment flat. That gives a half measurement: a 1/2 chest of 54 cm is a 108 cm chest all round. Write 1/2 chest in the point name so nobody reads it as the full figure.
What is HPS?
HPS is the high point shoulder, where the shoulder seam meets the neckline. Body length is usually measured from it, so the length does not change with the shape of the neckline. Some specs measure from the centre back neck instead, which gives a different number, so state which one you use.
Should measurements be taken before or after washing?
Say which on the chart. For garments that will be washed, many brands specify and check measurements after a standard wash as well as before, because the customer wears the washed garment. Whatever you choose, the factory and the inspector need to measure in the same state.
How do I measure ribbed cuffs and hems?
Relaxed, without stretching, and write relaxed in the point name. Rib can be pulled to a much larger number, so if the stretched size matters, add it as a separate point.
How accurate do garment measurements need to be?
Measure to the nearest 0.5 cm or 1/8 in, twice, on a flat, unstretched garment. Then give every point a tolerance: commonly plus or minus 0.5 to 1 cm on body measurements, and tighter on small details such as a neck rib.
Peter Midea is GarmentSpec's technical lead for brand development.
Send us your sample or reference and we spec it: technical flats, bill of materials, graded points of measure with a tolerance on every line, colorways and construction notes. $299 per style, 3 to 5 working days, 2 to 3 revision rounds. Our team replies within 24 hours.
Get your tech pack, $299Open the measuring guideWe don't take your production. The spec is yours to send to any factory, anywhere. Talk to us first if you're not sure what you need.
Sources
- QIMA, AQL (Acceptable Quality Limit): common AQL levels for consumer goods inspections.
- GarmentSpec, How to measure garments: point-of-measure definitions and tolerance guidance used in this article.
Related guides
- Grading chart template
- How to fill in a tech pack template
- T-shirt tech pack
- Jeans tech pack
- What is a tech pack?