Contents
- What Is a Button-Up Shirt Tech Pack?
- What Must a Button-Up Shirt Tech Pack Include?
- Where Do Woven Shirts Actually Fail?
- Collar and Placket: Where the Shirt Is Won o…
- How Do You Spec Cuffs, Sleeve Plackets, and…
- What Seams and Stitching Should a Shirt Tech…
- How Do You Measure a Woven Shirt Correctly?
- Fabric and Interlining: Poplin, Oxford, and…
- Woven Shirt vs Knit T-Shirt in the Tech Pack
- What Should You Hand a Woven-Shirt Factory?
- How Much Does a Shirt Tech Pack Cost?
- Frequently Asked Questions
A woven button-up shirt is the most detail-dense small garment you can put on a cutting table. It looks tidy and simple. It isn't. A single dress shirt hides a collar, a stand, a front placket, a back yoke, two cuffs, and a sleeve placket on each arm, and every one of those has its own construction decisions. Get one wrong and the whole shirt reads cheap. A tech pack is the document that pins each of those decisions down before a factory guesses. Guru estimates a full spec costs $500-$2,000 per style when you outsource it, and takes 5 to 20 hours to build (Guru, 2022). This guide walks every section a shirt tech pack needs, and the exact places woven shirts fail once they hit the line.
Key Takeaways - A shirt tech pack is a factory-facing spec: flats, points of measure, BOM, construction, and interlining details. - Collars, plackets, cuffs, and yokes cause most woven shirt rejections, because each carries several decisions at once. - Interlining and fusing in the collar and cuff are the details beginners skip and factories can't guess. - A full spec runs $500-$2,000 per style outsourced, or your own time with a free template.
If you're new to the format, start with our guide on what a tech pack is and the full tech pack pillar before you spec your first shirt. This post covers the woven button-up. If you're making knit tees instead, read the t-shirt tech pack guide, which is a different animal.
What Is a Button-Up Shirt Tech Pack?
A shirt tech pack is the technical document that tells a factory exactly how to cut, sew, fuse, and finish a woven button-up. It bundles technical flats, a graded measurement chart, a bill of materials, construction notes, and interlining specs into one file. Techpacker calls it the blueprint every manufacturer needs to make a garment correctly (Techpacker). Without it, the factory fills every gap with an assumption. On a shirt, there are a lot of gaps.
The button-up is deceptively busy. A tee has one seam and a neckline. A dress shirt has a collar built from three or four fused pieces, a placket with a defined button count, a yoke that can be single or split, and cuffs that close two different ways. Each of those is a small sub-garment. Skip the spec and you're trusting the factory's house default, which may not be yours.
A shirt tech pack translates a woven design into buildable instructions: flats, points of measure, a bill of materials, seam and stitch types, and interlining callouts. It is the blueprint a factory needs to produce a garment accurately, which matters most on a detail-heavy garment like a button-up.
Across a network of factories, the shirts that arrive without a real spec don't fail for one dramatic reason. They fail for a stack of small ones: a collar stand a few millimetres too tall, a placket where the buttons sit unevenly, a fused collar that bubbles after the first press. None of those alone is a disaster. Together they read as "off," and the buyer can feel it without knowing why.
What Must a Button-Up Shirt Tech Pack Include?
A complete shirt tech pack covers eight standard sections. Techpacker lists them as flat sketches, a bill of materials, measurement specs, a cost sheet, size gradings, colorways, construction notes, and revision history (Techpacker). Sewport adds that the bill of materials should account for every component, from the shell fabric down to the interlining, buttons, and care label (Sewport). On a shirt, the components list runs long.
For a button-up, the sections you can't shortcut are the flats, the construction detail, and the BOM. Your flat needs front and back views with the collar, placket, yoke, cuffs, and sleeve plackets all drawn. Your construction section needs collar and cuff interlining specs. Your BOM needs the exact fabric, thread, button type, button size, and interlining weight.
Our free tech pack template already lays out these eight sections, so you're filling in blanks rather than building the structure from scratch.
Where Do Woven Shirts Actually Fail?
Woven shirts fail at the collar, the placket, the cuffs, and the yoke, and almost all of it comes down to detail you didn't spec. The single most common problem is a collar that bubbles or rolls wrong because the interlining and fusing were left to the factory. Placket button spacing, cuff construction, and yoke symmetry follow close behind. These aren't design flaws. They're spec gaps, and inspectors catch them under AQL sampling before goods ship.
Here's what most spec guides miss about button-ups. A tee fails at the neckline because the neckline gets handled most. A woven shirt fails at the collar and cuff for a different reason: those are the only fused parts of the garment. Fusing is heat plus pressure plus a fabric-to-interlining bond, and if you don't name the interlining weight and the fusing temperature the factory should target, you're trusting their default glue on your fabric. When it delaminates after a press, it bubbles. You specced the collar shape. You never specced the bond.
Spell out the parts that carry the most decisions: collar type and stand height, interlining weight, placket button count and spacing, buttonhole direction, cuff type, and yoke construction. Each one is a place a shirt goes wrong quietly.
Collar bubbling, placket button spacing, and cuff construction drive most woven shirt inspection failures, because each combines several decisions the factory otherwise defaults. Interlining and fusing, not just collar shape, decide whether a collar holds crisp. Standards like ASTM D5585-21 exist so dimensions carry defined tolerances (ASTM) rather than "looks about right."
For a fuller list of what goes wrong, our guide to common tech pack mistakes covers the errors that repeat across every garment type.
Collar and Placket: Where the Shirt Is Won or Lost
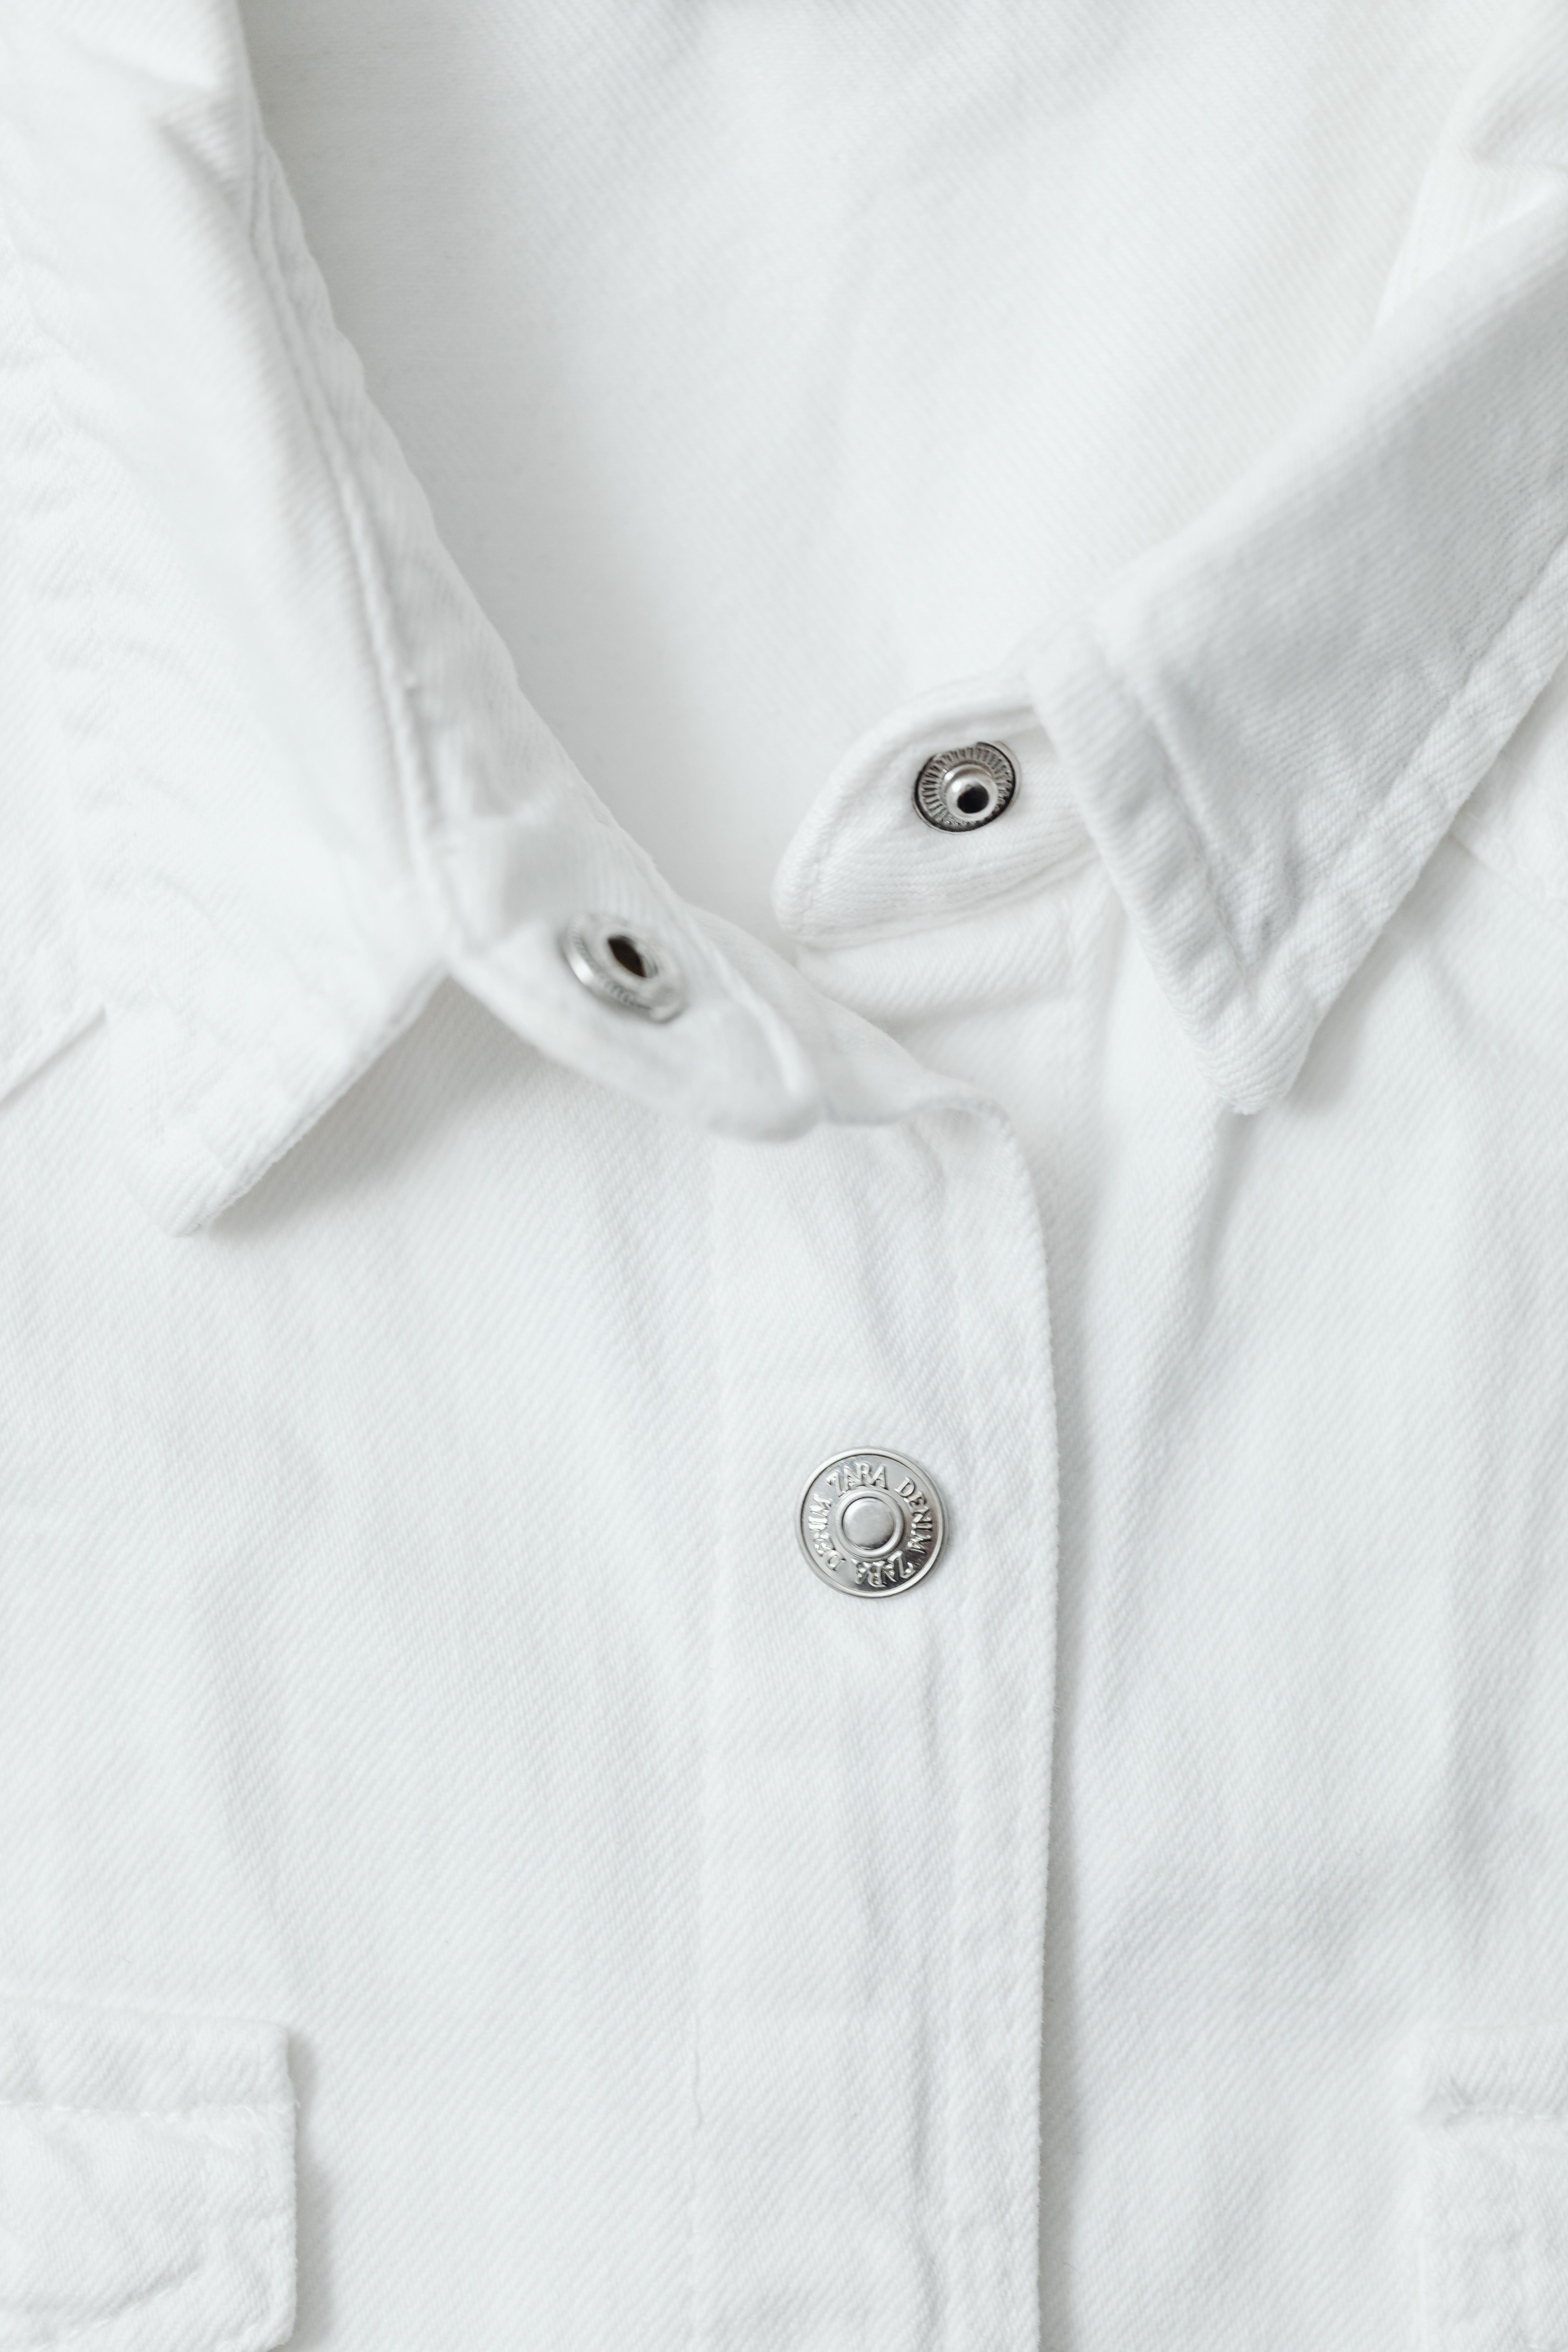
The collar and placket are the two parts a buyer looks at first, so they carry the most spec weight. A collar has a type, a stand height, a point length, and an interlining choice. A placket has a button count, a spacing, a buttonhole direction, and a top-button decision. Techpacker's construction section is where all of this lives (Techpacker), and none of it survives being left implicit.
The Collar: Type, Stand, and Point Length
Name the collar type first, because the type sets every other number. The five common woven-shirt collars are the spread, the point (or straight), the button-down, the band (also called mandarin or Nehru), and the cutaway, which is an extreme spread. A spread opens wide between the points and carries a wider tie knot. A point sits narrow and long. A button-down anchors each point to the body with a small button and reads casual. A band collar has no fold-down leaf at all, just the stand. Say which one, then dimension it.
Then give the numbers that make the collar buildable. Stand height is how tall the collar band sits at the centre back, usually 1 to 1.5 inches on a dress shirt. Collar point length runs from the collar notch to the tip, commonly 2.75 to 3.5 inches. Spread is the distance between the two points when the collar is closed. Tie space is the small gap between the tops of the band at the front where they meet the top button, and it sets how the knot seats. A quarter inch on any of these changes the whole face of the shirt, so each one is a spec number, not a preference.
Here's a distinction most beginner specs blur: the collar leaf and the collar stand are two separate pieces, and they can carry different interlinings. The leaf is the fold-down part with the points. The stand is the band that wraps the neck and holds the buttonhole. On a crisp dress shirt you often want a firmer fuse in the stand so it holds vertical, and a slightly softer leaf so the points still roll instead of standing up like plastic. If you spec one interlining "for the collar" you've flattened a two-part decision into one, and the factory splits the difference its own way.
Interlining: Fusible, Sewn-In, and the Weight That Matters
The interlining is the stiff layer built into the collar leaf, the collar stand, the cuffs, and often the front placket, and it decides whether those parts read crisp or floppy. You have two construction choices. Fusible interlining is bonded to the shell with heat and pressure, which is faster and standard on most shirt programs. Sewn-in interlining, sometimes called a cut-away or full-canvas collar, is stitched rather than glued, holds shape longer, and won't delaminate, but it costs more labour. Name which one, then name the weight in grams per square metre. A firm dress collar wants roughly 80 to 120 GSM; a soft casual collar wants something lighter, or none. Because fusing behaviour depends on the shell fabric, this callout pairs with the fabric spec below.
The Front Placket: Buttons, Buttonholes, and Lignes
Spell out the placket construction and the button layout, because both hide several decisions. State the placket type first. A standard placket is a folded-back edge topstitched down the front. A French front (or plain front) folds the edge under with no visible topstitching and reads dressier. A covered, or fly, placket hides the buttons behind a flap. Then give the button count down the front, usually 6 to 8 on the placket plus one on the collar band, and the spacing between them, typically 3 to 3.75 inches centre to centre.
The details beginners drop are the buttonhole and the button itself. State buttonhole direction: horizontal buttonholes sit at the collar band and sometimes the hem for pull strength, while vertical buttonholes run the length of the placket. Give button size in lignes (one ligne is 1/40 inch, so an 18-ligne button is common on shirts and 16 on finer ones) and the button material, usually mother-of-pearl or polyester. Add a thread shank or wrap so the button sits proud of the cloth and buttons cleanly. Miss the ligne and you get buttons that won't pass through the holes.
The Chest Pocket
Not every button-up has a pocket, but if yours does, spec it like any other panel. State the style: a plain patch pocket, a patch with a flap (buttoned or not), or a pocket with a stitched pen slot. Give pocket width, height, and the bottom shape, whether square, rounded, or pointed. State placement with two numbers, the drop from the shoulder seam or high point shoulder and the distance in from the front placket. If the shell is striped or checked, add a note to match the pattern across the pocket, because a mismatched pocket on a striped shirt is an instant tell. Left chest is standard.
How Do You Spec Cuffs, Sleeve Plackets, and the Yoke?
You spec cuffs, sleeve plackets, and the yoke by naming the type and then dimensioning it, because each has more than one common build. These belong under construction detail alongside the collar. Sewport reinforces that every component, including the interlining in the cuff, belongs in the bill of materials (Sewport). Leave any of it blank and the factory picks for you.
Cuffs: Barrel vs French
Say barrel or French, because the shirt is built differently for each. A barrel cuff, the standard, wraps around and closes with one or two buttons; a two-button barrel lets the wearer adjust the fit. A French, or double, cuff is cut roughly twice as deep, folds back on itself, and closes with cufflinks through four buttonholes, so it carries no buttons of its own. A convertible cuff can do either. State cuff depth (barrel cuffs usually 2.5 to 3 inches, French cuffs 3 to 3.5 inches before the fold), cuff opening width, button count and placement, corner shape (square, rounded, or cut at an angle), and interlining weight. A cuff without an interlining callout arrives soft when you wanted firm.
The Sleeve Placket and Gauntlet Button
The sleeve placket is the finished slit at the wrist that lets the cuff open, and it's real construction, not just a cut line. Name the build. A tower placket, also called a shirt-sleeve or gauntlet placket, is the tailored version: a bound strip with a pointed top and usually a small gauntlet button set halfway up that closes the gap above the cuff. A simpler bound or faced placket skips the tower. Give the placket length (commonly 5 to 6 inches) and width, and say whether the gauntlet button is present. This small detail separates a considered shirt from a rushed one, and it's exactly what a rough sketch leaves out.
The Yoke: Single vs Split, and the Back
The yoke is the panel across the upper back, and you choose single or split. A single, one-piece yoke is cut as one panel. A split yoke is cut in two halves seamed at the centre back, usually with the grain angled so a stripe or check chevrons at the seam, which lets the shirt sit cleaner across sloping shoulders. Then decide how the back takes up its extra width: a centre box pleat, two side (knife) pleats set in from the yoke, or back darts for a slimmer fit. State yoke depth and width and the pleat or dart placement, because those set the fit across the shoulder blades and the room the wearer has to reach.
What Seams and Stitching Should a Shirt Tech Pack Specify?
A shirt tech pack should call out the seam type and stitch density on every major seam, because construction decides whether a shirt lasts or frays. Quality woven shirts run 7 to 8 stitches per inch (SPI), and inspectors check that density under AQL sampling, where AQL 2.5 is the common commercial limit and critical defects carry a zero limit (QIMA). Too few stitches and the seam puckers; too many and the fabric perforates.
The construction mark to specify is the flat-felled seam. Both raw edges get folded in and stitched twice, so no raw edge shows inside and the seam pulls flat and strong. Better shirts run flat-fell seams down the sides and around the armholes, which is why you can turn a good shirt inside out and find no overlocked edges. Cheaper shirts overlock the seams instead, which is faster but frays sooner. Name which you want, seam by seam, so the factory doesn't default to the cheaper build.
Then there's single-needle tailoring, a detail dress-shirt buyers look for. Single-needle means each side of a seam, like the side seam or armhole, is sewn in a separate pass with one needle, which keeps the seam flat and stops the puckering a faster twin-needle run leaves behind. State single-needle on the side seams and armholes when the shirt is meant to read premium. Add topstitch margins where they show, at the collar, cuff, placket, and yoke, because an uneven topstitch is the first thing a buyer's eye catches.
The seam callout I most often see missing is the armhole. People spec the side seam flat-felled, forget the armhole, and the factory overlocks it because that's faster on their line. Then the shirt looks fine from outside but shows a raw, fraying edge the moment someone turns a sleeve inside out to check. It's a one-line fix in the construction notes and it changes how the whole garment reads.
A premium woven shirt spec calls out flat-felled side and armhole seams, single-needle tailoring, and 7 to 8 stitches per inch. Inspectors verify stitch density and seam integrity under AQL sampling, where AQL 2.5 is the common commercial limit and critical defects carry a zero limit (QIMA).
How Do You Measure a Woven Shirt Correctly?
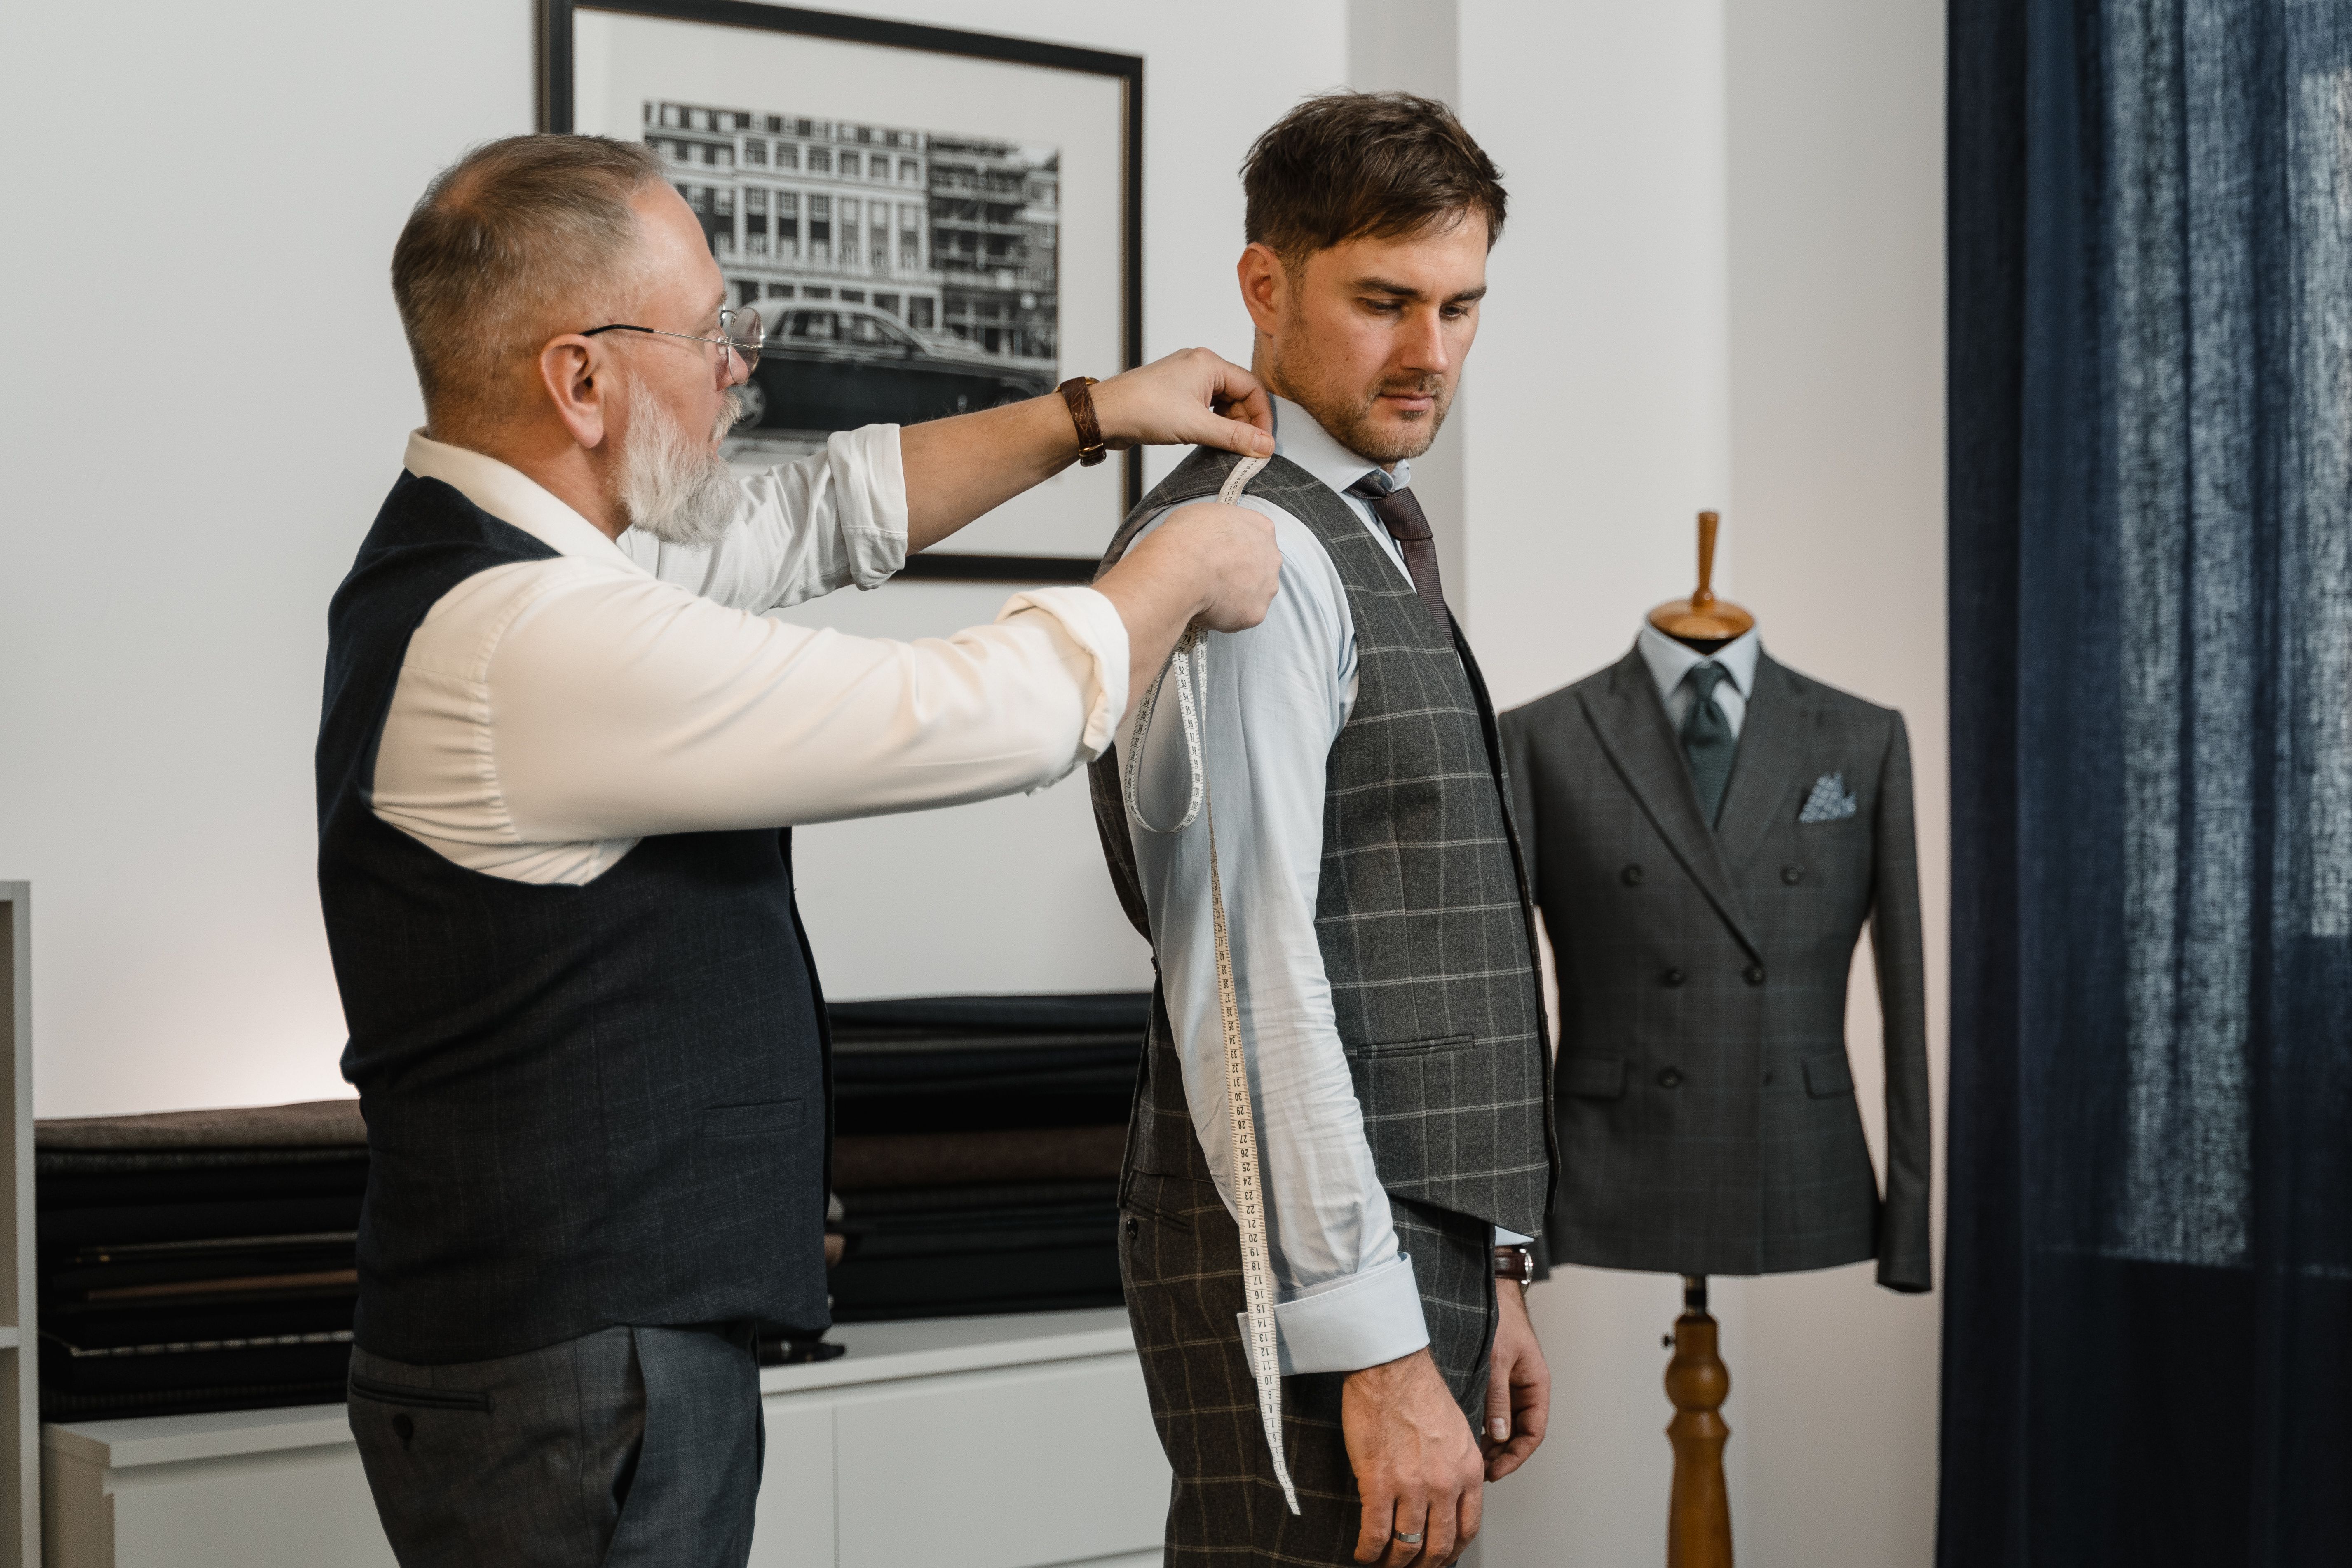
You measure a woven shirt flat, on a hard surface, at defined points, with a tolerance on every number. Points of measure (POM) are the specific locations you record: chest, shoulder, sleeve, collar, cuff, body length, and yoke. Each gets a base-size target and a plus-or-minus tolerance. ASTM's dimensional standards, including D5585-21 for women's misses sizing, exist so those tolerances grade consistently rather than get guessed (ASTM).
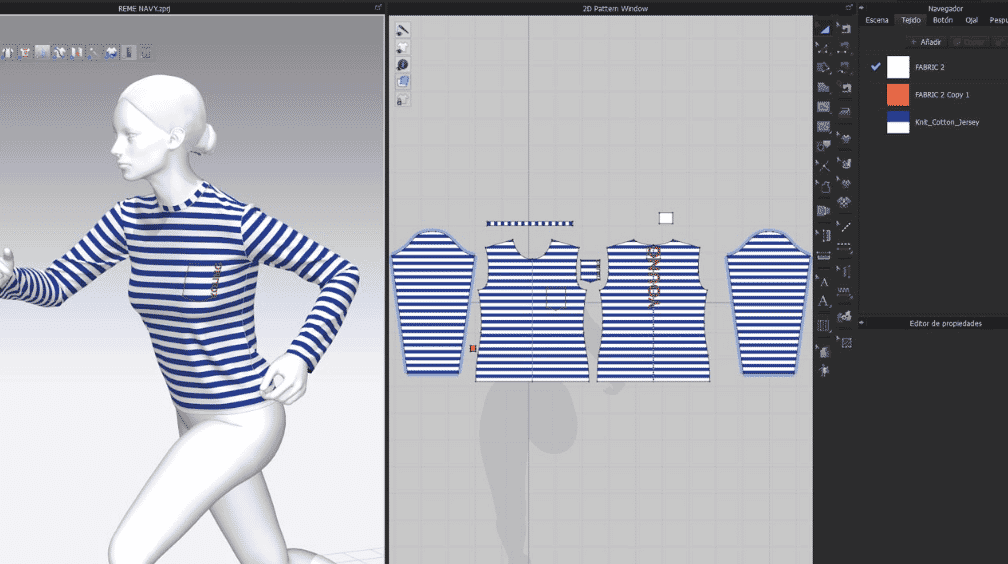
The tolerance is the part beginners drop. A chest measurement of 21 inches with no tolerance is meaningless, because no factory hits an exact number across a full run. Give it a range. Half an inch on the chest, a quarter inch on the shoulder, an eighth on the cuff height. Below is an illustrative POM table for a base size medium button-up. Treat the numbers as an example of format, not a house standard.
| Point of Measure | Base Size M | Tolerance |
|---|---|---|
| Chest, 1" below armhole (flat) | 21" | +/- 1/2" |
| Across shoulder, seam to seam | 18" | +/- 1/4" |
| Sleeve length, shoulder seam to cuff | 24" | +/- 1/2" |
| Collar (neckband) length | 15.5" | +/- 1/4" |
| Cuff height | 2.75" | +/- 1/8" |
| Body length, HPS to front hem | 30" | +/- 1/2" |
| Yoke width, across back | 17" | +/- 1/4" |
A woven shirt needs POMs with tolerances at chest, shoulder, sleeve, collar, cuff, body length, and yoke, not just target numbers. ASTM's dimensional standards, including D5585-21, exist so those tolerances grade consistently across a size run (ASTM), which is why "close enough" fails inspection.
Grading is the other half of the measurement job, and it belongs in the spec as a rule, not a guess. Grading is how each point of measure steps up or down between sizes. A common shirt grade adds roughly 1 inch to the chest, half an inch across the shoulder, and half an inch to the sleeve for each size up, but the exact steps are your call and should be listed size by size, not implied. Some points, like collar length, step in smaller increments; others, like body length, may not grade at all between neighbouring sizes. ASTM's body-measurement standards, including D6960 for plus-size women and D5585-21 for misses, give the anthropometric basis grading rules build on (ASTM). Put the full graded grid in the tech pack so the factory cuts every size to your steps, not its house block.
Our free tech pack template includes a graded POM grid, so you record each of these points with a tolerance in one place.
Fabric and Interlining: Poplin, Oxford, and Twill
Your BOM has to name the exact woven, and the weave does most of the work for a shirt. Poplin is smooth, fine, and presses flat and crisp. Oxford has a basketweave texture, sits heavier, and reads more casual. Twill has a diagonal rib, drapes softly, and hides wrinkles. Sewport notes the bill of materials must specify every fabric component precisely (Sewport), and for a shirt, "cotton" alone tells the factory nothing.
The weave also changes how the shirt presses, which is why it pairs with your interlining. A crisp poplin dress shirt wants a firmer collar fusible so it presses sharp. A soft twill casual shirt wants a lighter one so it doesn't feel like cardboard. Name the weave, the weight in grams per square metre with a tolerance, the yarn count if you have it, and the fibre blend with percentages. Then match the interlining to it.
The mismatch I've watched go wrong most is a heavy fusible on a fine poplin. The collar comes out board-stiff, it bubbles at the points after a hot press, and the shirt that was meant to feel refined feels armoured. The fabric and the interlining are one decision, not two. Spec them together.
The Weaves: Poplin, Oxford, Twill, Chambray, Dobby
Five weaves cover almost every button-up, and the name alone tells the factory a lot. Poplin, also called broadcloth, is a tight, fine plain weave that presses smooth and crisp: the classic dress shirt. Oxford uses a basketweave that pairs two yarns for texture and body, and pinpoint oxford is its finer cousin while royal oxford dresses it up. Twill shows a diagonal rib, drapes softly, resists wrinkles, and takes deep colour well. Chambray is a plain weave with a coloured warp and a white weft, so it reads like a lightweight denim and skews casual. Dobby weaves a small geometric pattern straight into the cloth, tone-on-tone stripes or dots, adding interest without a print. Name the one you want, because "cotton shirting" covers all five.
Yarn Count and Thread Count
Two numbers separate a cheap shirting from a fine one: yarn count and thread count. Yarn count measures how fine the individual yarns are, and higher is finer. A 40s single is a sturdy everyday yarn; a two-ply 100s, written 100/2, twists two 100-count yarns together and is what dress-shirt makers mean by "two-ply." A two-ply warp and weft, a 2x2 construction, makes a smoother, stronger cloth than a single-ply of the same count. Thread count is the number of warp and weft yarns per square inch: denser feels finer, but it isn't worth much if the underlying yarn is coarse. State the yarn count, whether it's single or two-ply, the thread count if the mill gives it, and the weight in grams per square metre with a tolerance. A typical shirting runs 100 to 140 GSM.
The weave choice quietly sets your interlining budget, which is a link most spec sheets never draw. A basketweave oxford already has body, so it needs a lighter collar fuse, sometimes none, to stay soft. A fine poplin has no body of its own, so it leans on the interlining to stand crisp, which means a firmer fuse and more risk of bubbling. Pick the weave and you've half-chosen the interlining. Spec them in the same breath and the collar behaves; spec them in different sections and they fight.
A woven shirt's fabric spec needs the weave (poplin, oxford, twill, chambray, or dobby), the yarn count and whether it's two-ply, weight in GSM with tolerance, and fibre blend, paired to a named collar and cuff interlining. The bill of materials must define every fabric component precisely, because the weave decides both how the shirt drapes and how it presses.
Woven Shirt vs Knit T-Shirt in the Tech Pack
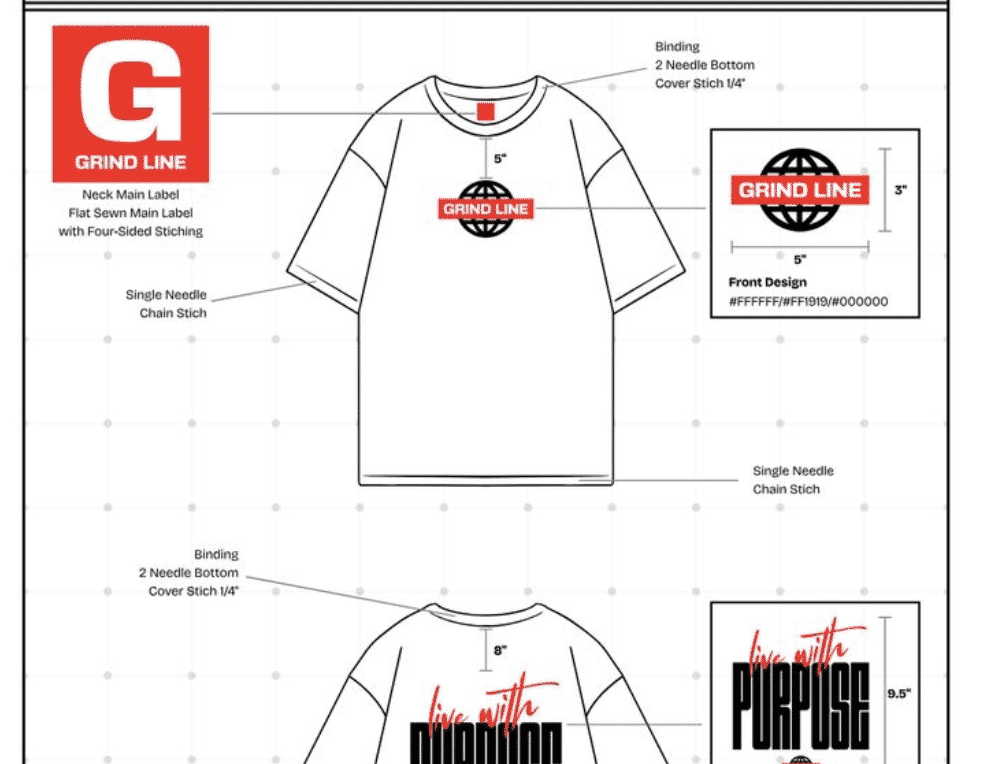
A woven shirt and a knit t-shirt need the same eight sections, but almost every section fills in differently. Techpacker's eight-section structure holds for both garments (Techpacker). The content is where they split. A tee is a knit with stretch, few parts, and a rib neckline. A woven shirt has no stretch, many parts, and fused components. If you spec a shirt like a tee, you leave out the parts that make a shirt fail.
The biggest differences are fabric and construction. A tee's fabric spec is GSM, knit type, and combed-versus-carded cotton, and its main risks are neckline recovery and shrinkage. A woven shirt's fabric spec is weave, GSM, and interlining, and its main risks are collar bubbling, placket spacing, and cuff construction. A tee has one seam. A shirt has a collar, a placket, a yoke, cuffs, and sleeve plackets. The measurement charts barely overlap.
A woven shirt and a knit t-shirt share the eight standard tech pack sections but differ in nearly every field. The same structure applies to both, yet the shirt adds collar, placket, yoke, cuff, and interlining specs a tee never carries. Speccing a shirt like a tee is where woven programs go wrong.
If you're actually building tees, don't use this guide. Read the t-shirt tech pack guide instead, since the knit and the woven need genuinely different specs.
What Should You Hand a Woven-Shirt Factory?
Hand the factory a complete tech pack plus a physical fabric header and approved collar and cuff samples, because a shirt program lives on physical approvals, not just the file. Guru's 5-to-20-hour estimate for a full spec assumes you supply these reference materials, not drawings alone (Guru, 2022). A button-up carries fused parts and a specific hand-feel a PDF can't fully carry, so the physical hand-offs matter as much as the pages.
Start with the fabric header. A fabric header, or hanger, is a physical swatch card from the mill showing the actual shell fabric with its weave, weight, and colour, labelled with the mill's reference number. Attach it to the tech pack so the factory cuts the right cloth and you can approve the exact fabric before bulk. Colour especially can't be trusted to a screen, so a physical header or lab dip is non-negotiable.
Then require a collar and cuff sewn approval before bulk runs. Ask the factory to build one collar and one cuff to your spec, fused, pressed, and finished, and send them for sign-off. This single step catches the failures this whole guide is about: a bubbling fusible, a stand that came out too tall, a cuff that arrived soft. Approve the collar and cuff in the hand and you've de-risked the two parts most likely to fail on the line.
Finally, request a sealed sample. A sealed sample is one full shirt, built to the approved spec, that you and the factory both sign and keep as the reference for the entire run. If a later delivery drifts, the sealed sample settles the argument. Together the tech pack, the fabric header, the collar-and-cuff approval, and the sealed sample are the four things that turn a spec into a shirt.
To start a woven-shirt program, hand the factory the tech pack, a physical fabric header showing weave and weight, a sewn collar-and-cuff approval, and a signed sealed sample. Guru estimates a full spec takes 5 to 20 hours to build, and these physical approvals are what catch collar and cuff failures before bulk.
How Much Does a Shirt Tech Pack Cost?
A shirt tech pack costs $500-$2,000 per style if you outsource it, or your own time if you build it. Guru estimates that range and puts the work at 5 to 20 hours per style (Guru, 2022). A button-up sits at the higher end of that range because the collar, placket, cuffs, yoke, and interlining all need speccing, and inspection checks each one under AQL sampling.
Inspection is numeric, not subjective. AQL sampling under ISO 2859-1, also published as ANSI/ASQ Z1.4, decides pass or fail against your tolerances. QIMA notes AQL 2.5 is the most common commercial limit, AQL 1.0 applies to higher-risk goods, AQL 4.0 covers minor cosmetic defects, and critical defects carry a zero limit (QIMA). A collar outside its tolerance fails the same way a torn seam does.
A full shirt tech pack runs $500-$2,000 per style outsourced, at 5 to 20 hours of work, per Guru's 2022 estimate (Guru). Button-ups land at the higher end because the collar, placket, cuff, yoke, and interlining each demand precise, tolerance-backed detail to survive AQL inspection.
You can build one yourself for the cost of your time. Grab our tech pack template to start for free, and read what each page needs to include so your file opens cleanly on the factory's end. If you'd rather not build it, our tech pack service delivers a factory-ready shirt spec from $299, with graded measurements, BOM, and collar and cuff callouts checked against real production requirements. For a manufacturer's view of how these specs get read on the floor, Portugal Clothing Factory publishes on the production side.
Frequently Asked Questions
What is the difference between a woven shirt tech pack and a t-shirt tech pack?
They use the same eight standard sections, but fill in differently. A t-shirt is a knit tee with a rib neckline, few parts, and shrinkage risk. A woven button-up adds collar, placket, yoke, cuff, and interlining specs a tee never carries. For knit tees, use our t-shirt guide instead.
What is the most common woven shirt tech pack mistake?
The most common mistake is leaving the collar and cuff interlining unspecced. Fusing depends on the shell fabric, so an unnamed interlining lets the factory default its own, which can bubble after a press. Name the interlining weight and whether it's fusible, matched to your weave, so the collar holds crisp.
How many measurements does a shirt tech pack need?
A button-up typically needs around 12 to 16 points of measure: chest, waist, hem, across shoulder, sleeve length, armhole, collar length, cuff height, cuff opening, yoke width, and body length front and back. Each needs a base-size target and a tolerance. ASTM's dimensional standards exist so those tolerances grade consistently across sizes (ASTM).
What fabric is best for a button-up shirt?
It depends on the look. Poplin presses smooth and crisp for dress shirts, oxford sits heavier and reads casual, and twill drapes soft and hides wrinkles. Always state the weave, the weight in GSM with a tolerance, and the fibre blend, since "cotton" alone leaves the factory guessing (Sewport).
Do I need to spec collar interlining in the tech pack?
Yes. Interlining is the fused layer that makes a collar and cuff hold shape, and its behaviour depends on your fabric. Name the weight and whether it's fusible or sewn-in, matched to the weave. Skip it and the factory picks a default that may bubble or feel wrong under AQL inspection (QIMA).
What collar types can a shirt tech pack specify?
A shirt tech pack can specify five common collars: spread, point, button-down, band (mandarin), and cutaway. Each needs a stand height, a point length, and a spread dimensioned in the spec, since a quarter inch changes the whole look. Name the interlining for the leaf and the stand too, because it decides whether the collar holds crisp.
What is single-needle tailoring on a shirt?
Single-needle tailoring means each side of a seam is sewn in a separate pass with one needle, which keeps the seam flat and stops puckering. Dress-shirt buyers look for it on the side seams and armholes, paired with flat-felled seams and 7 to 8 stitches per inch. State it in the construction notes so the factory doesn't default to a faster twin-needle run.
What is a fabric header and why hand one to the factory?
A fabric header is a physical swatch card from the mill showing the actual shell fabric with its weave, weight, and colour. Handing one to the factory lets you approve the exact cloth before bulk, since colour and hand-feel can't be trusted to a screen. Pair it with a sewn collar-and-cuff approval and a signed sealed sample.
Peter Midea runs a network of 80 clothing factories in Portugal and has watched more garments get rejected on a production line than he'd like to admit.
We build the factory-ready spec a manufacturer can quote from without a single question: technical flats, bill of materials, graded points of measure with tolerances, colorways and construction notes. $299 per style, 3 to 5 working days, 2 to 3 revision rounds.
Get your tech pack — $299Start with the free templateWe don't take your production. The spec is yours to send to any factory, anywhere. Talk to us first if you're not sure what you need.
Sources
Every statistic and definition in this article traces to one of the following. Each is listed once here, and cited inline where it is used.
- Guru
- Techpacker
- Sewport
- ASTM International
- images.pexels.com
- QIMA
- otextilpt.sirv.com
- ASTM International
- Portugal Clothing Factory
Related guides
- Tech packs: the complete guide
- T-shirt tech pack
- Dress tech pack
- Free tech pack template