Contents
- What goes in a hat tech pack?
- What are the 8 sections every tech pack needs?
- How do you spec panel count and construction?
- What fabric should a cap BOM call out?
- How do you measure a cap?
- Brim, closure, and hardware: the hard-goods…
- How do you spec embroidery, patches, and 3D…
- How do you spec a beanie tech pack?
- Why do cap tech packs get rejected on the li…
- What should you hand a headwear factory?
- What does a hat tech pack cost to produce?
- Frequently asked questions
- The bottom line
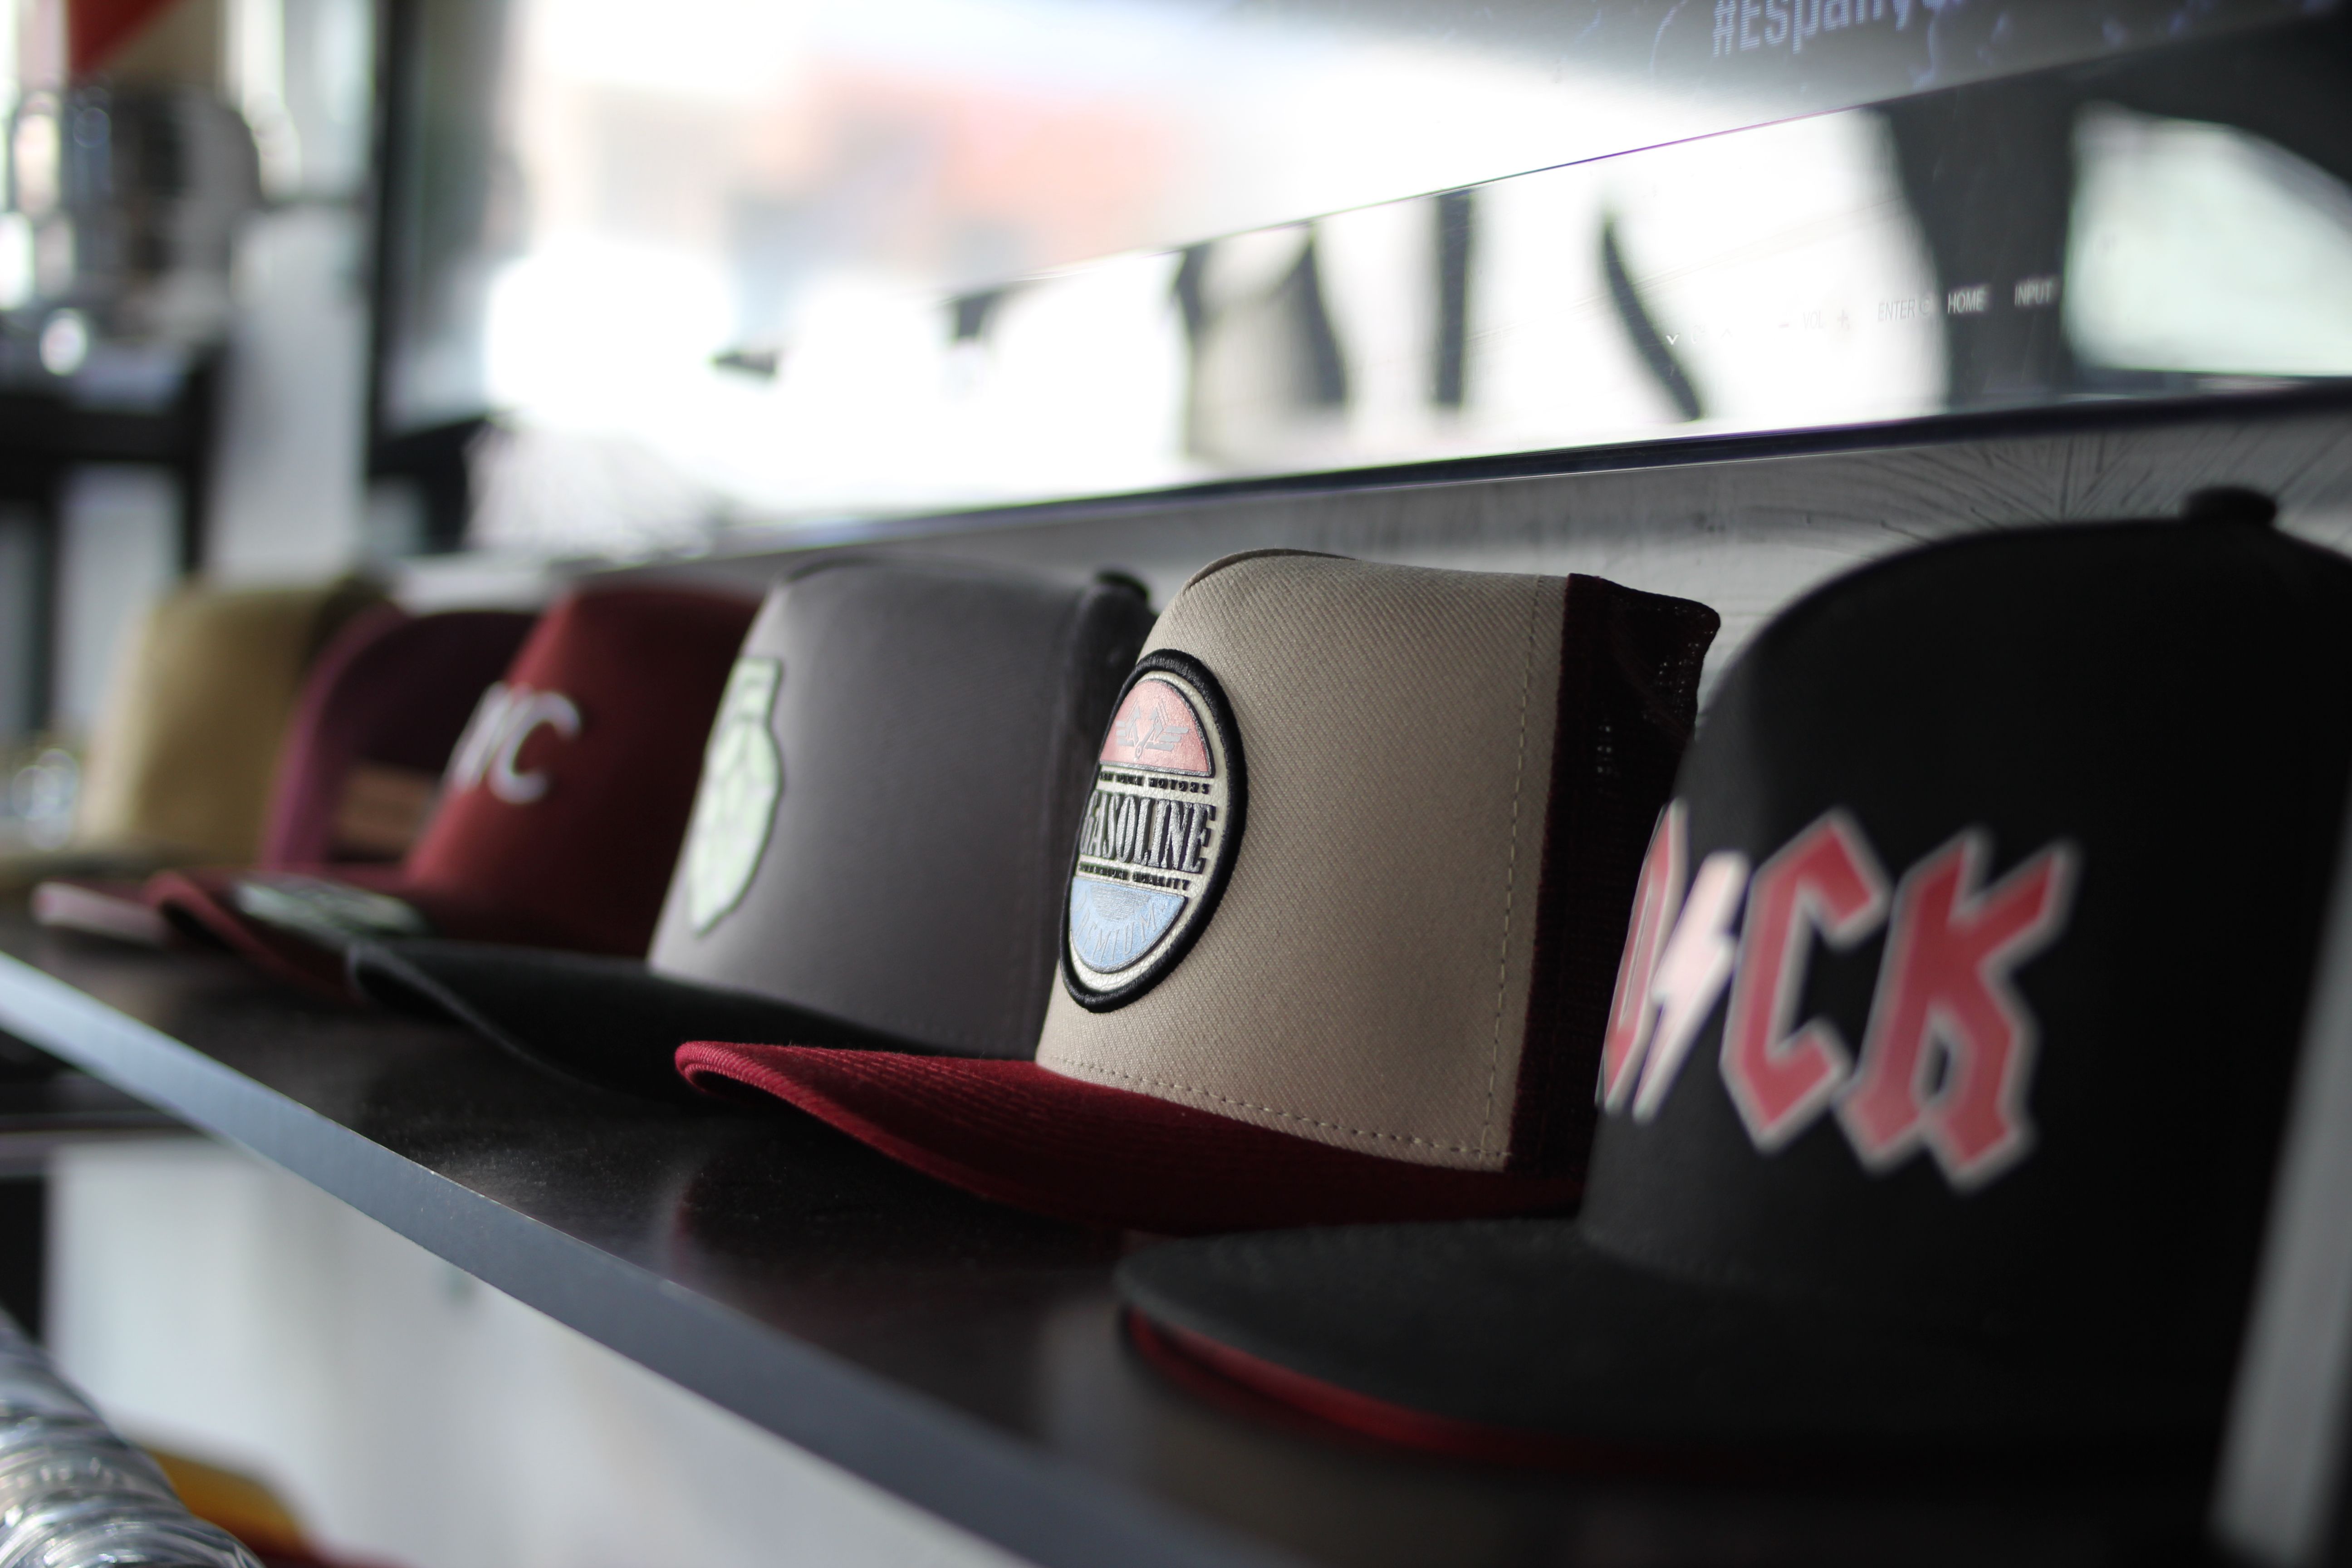
A cap is a strange product. It's hard goods meeting soft goods: a curved plastic brim, a molded buckram front, a snap closure, and six panels of fabric all stitched into one small dome. That mix is exactly why a hat tech pack looks nothing like a t-shirt spec. Techpacker describes a tech pack as a blueprint built from about 8 core sections (Techpacker), and every one of those sections shifts when the garment sits on your head. Get the panel and embroidery detail wrong and a headwear factory will build something you didn't picture. Here's the full spec, plus a free template.
Key Takeaways - A hat tech pack keeps all 8 core tech pack sections (Techpacker), but the measurements, closure, and artwork pages are cap-specific. - Points of measure are crown circumference, crown height, and brim length, not chest and sleeve. - Panel count, structure, closure type, and embroidery placement are where founder files fall short. - Specialist headwear factories build caps, so your spec has to speak their language.
What goes in a hat tech pack?
A hat tech pack contains the same skeleton as any garment spec, then adds headwear detail on top. Techpacker frames a tech pack as roughly 8 sections covering sketches, materials, measurements, and construction (Techpacker). For a cap, those sections carry panel counts, crown profile, brim shape, and closure hardware instead of hems and side seams.
The file has one job: remove guesswork. If you leave the crown height blank, the factory picks one. If you don't state whether the front is structured, they'll assume the house default. I've seen founders send a single JPEG of a cap they liked and expect a match. That's not a spec. That's a wish.
For the full definition of the document itself, read our guide on what a tech pack is, then come back for the headwear specifics. This page assumes you know the basics and want the cap layer on top. The pillar overview lives at our tech packs hub if you need the wider map first.
What are the 8 sections every tech pack needs?
Every tech pack, cap or hoodie, runs on the same skeleton. Sewport and Techpacker both describe the document as a structured pack of sketches, a bill of materials, measurements, and construction notes (Sewport). Keep the structure identical across your range so factories read your files fast, then fill each section with cap detail.
Here's the 8-section list this cap guide uses throughout, the standard skeleton with the two pages a cap leans on hardest, labeling and artwork:
- Cover page and flat sketches
- Bill of materials (BOM)
- Measurements and points of measure
- Construction and stitching
- Colorways
- Grading and size chart
- Labeling, branding, and packaging
- Artwork and embellishment
How do you spec panel count and construction?
Panel count and structure are the first decision, and your bill of materials has to state both. Sewport notes that a BOM lists every component that goes into a garment (Sewport), and for a cap that means naming each panel, the buckram, the closure, and the eyelets. Say 5-panel or 6-panel, structured or unstructured, in plain words.
The difference is real. A 6-panel cap splits the crown into six sections with a front seam; a 5-panel joins the front into one flat panel. Structured caps use buckram or fusing behind the front so they hold a tall, firm shape. Unstructured caps ("dad hats") sit soft and low. A trucker hat pairs foam front panels with a mesh back. State which one you want.
Here's the detail founders miss: crown height and profile. A structured 6-panel with a 5-inch crown reads as classic baseball. Drop the crown to 3.5 inches and pre-curve the brim and you've got a low-profile cap instead. Same panel count, completely different hat. Spell out crown height, whether the front is fused, and the seam type on every panel join.
5-panel, 6-panel, and where the seams land
Panel count changes the whole front of the cap, so state the number before anything else. A 6-panel splits the crown into six triangular sections with a seam that runs front to back through the center. Any logo has to clear that center seam or sit to one side. A 5-panel drops the center seam and gives you one flat front panel, the clean canvas skate and streetwear brands reach for. A 7-panel adds height for a taller crown, and a 1-panel or 2-panel runner cap keeps seams to a minimum for a soft, seamless look.
Front seams matter for embroidery. On a 6-panel, a wide logo crossing the center seam can pucker where the thread meets the ridge. Tell the factory to embroider the front panels before the crown is closed if the art is large, or move to a 5-panel front so the logo lands on a flat field. That single instruction saves a whole sampling round. While you're there, note whether you want taped seams. Seam tape is a strip that covers the interior stitch line so it doesn't scratch the wearer, and on a premium cap it's worth a line in the spec.
Structured, unstructured, and trucker fronts
Structure is a separate axis from panel count, and people confuse the two constantly. A structured cap carries buckram or fusible interlining behind the front panels, so the crown stands tall and firm even sitting on a table. Buckram is a stiffened woven; fusing is a heat-bonded interlining. Name which one you want, and name the weight. A light fusing gives a soft-structured feel that bends with a squeeze. A heavy buckram gives a hard, formal front that snaps back.
An unstructured cap, the dad hat, skips the stiffener entirely and folds flat in a pocket. A trucker pairs two foam-backed structured front panels with a mesh back across the rear five panels for ventilation. Each build reads differently on the head, and each is a different bill of materials. Don't write "structured" and stop. Write the stiffener type, the weight, and which panels carry it.
Streetwear labels run caps constantly, and the panel spec is where their files fall apart. If that's you, our streetwear tech pack guide covers the wider range logic. The cap page still needs the panel-by-panel detail described here.
What fabric should a cap BOM call out?
Fabric drives the whole character of a cap, so it sits at the top of the bill of materials. Sewport describes the BOM as the complete component list a factory sources from (Sewport). For a cap that means naming the crown fabric, the fiber, and the weight, then the interlining, mesh, sweatband, and thread underneath it.
Start with the crown fabric, because it sets the build. Cotton twill is the classic structured cap fabric: firm, takes embroidery cleanly, holds a tall crown. Brushed cotton twill is softer and reads casual, the natural pick for a dad hat. A wool or acrylic melton blend suits colder-weather caps and dressier looks. Acrylic dominates budget headwear and most beanies. Corduroy and canvas show up on fashion caps, and each behaves differently under a needle, so state the fabric by name and weight, not just "cotton."
The parts founders forget live below the crown fabric. Interlining or fusing weight decides how structured the front feels, so spec it separately from the shell. Trucker caps need the foam density on the front and the mesh type on the back. The sweatband is its own line: cotton for a classic feel, a moisture-wicking poly-blend for performance, and a note on whether it's taped or folded. Thread gets a named color system so embroidery and topstitching match. Every one of those is a component a factory has to buy, so every one earns a row in the BOM.
How do you measure a cap?
You measure a cap with headwear points of measure, not apparel ones. Chest and sleeve mean nothing here. Body and product measurement methods sit under ASTM's textile committees, which publish standard measurement practices (ASTM D13.55), and for headwear the relevant numbers are crown circumference, crown height, and brim dimensions.
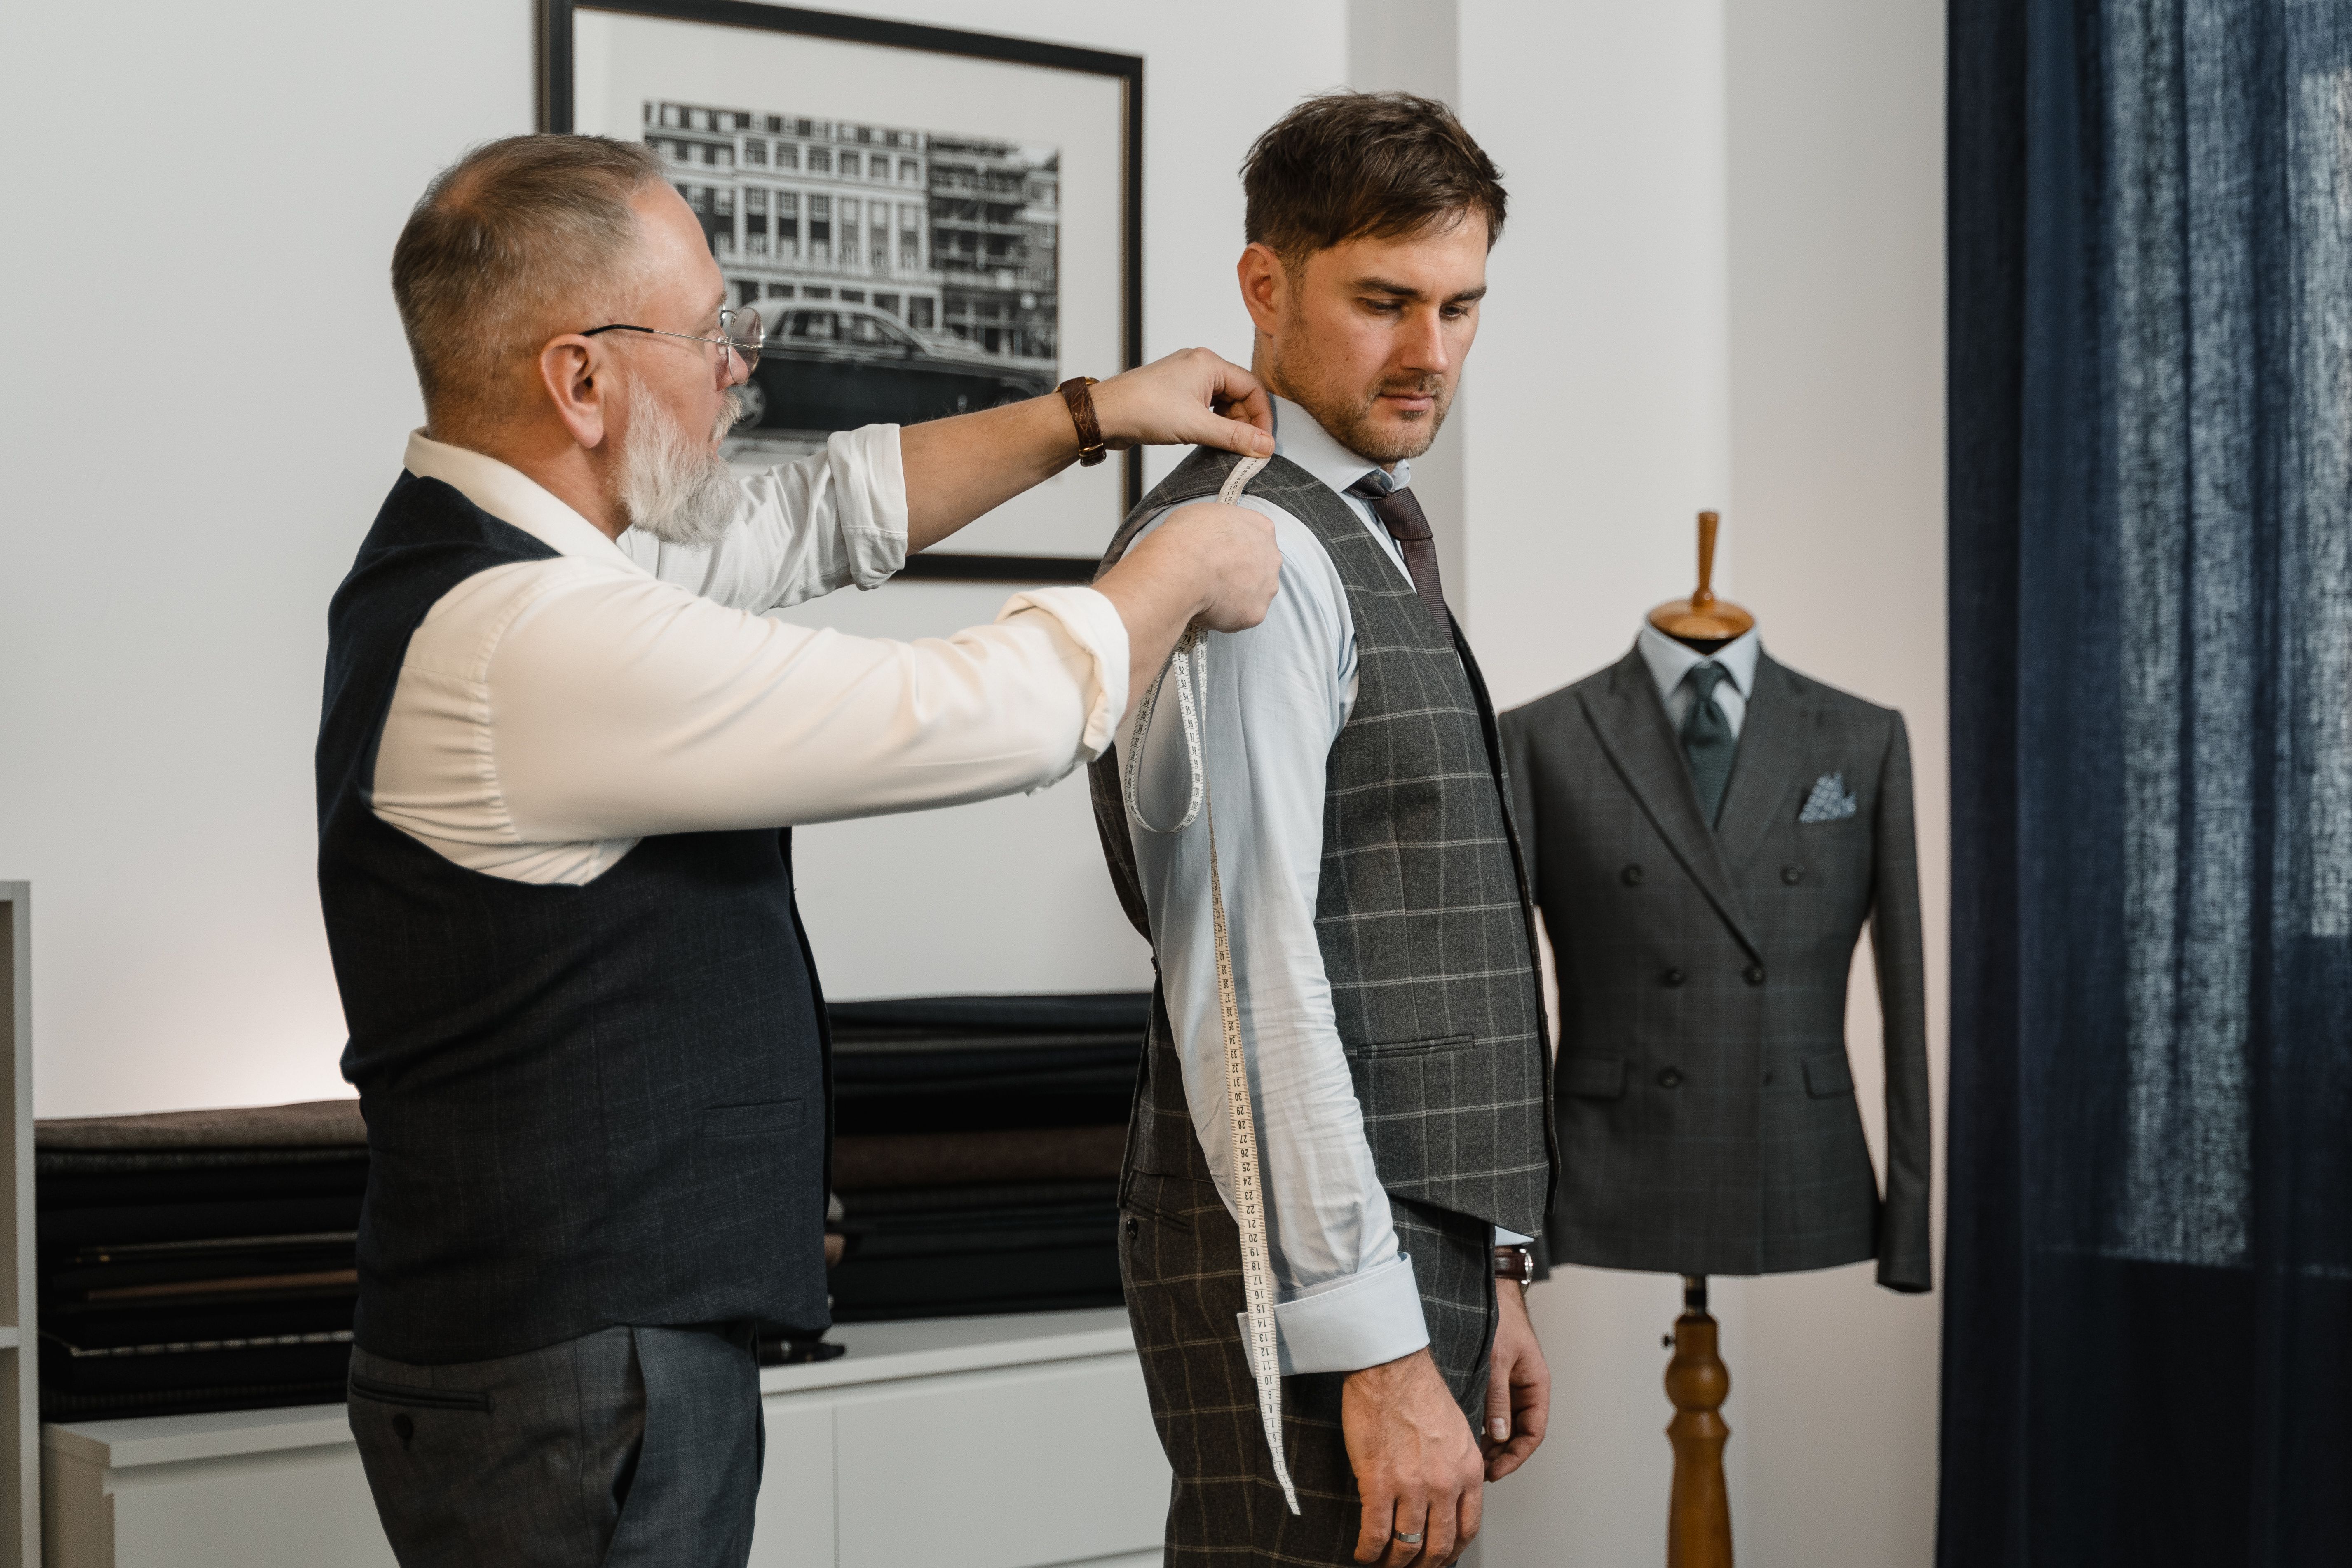
Every measurement needs a tolerance. A tolerance is the plus-or-minus room the factory has before a piece fails inspection. Without one, "22 inches" is a suggestion. With one, "22 inches, plus or minus 1/4 inch" is a rule. Below is an illustrative points-of-measure table for a one-size adjustable cap. Treat the values as examples; your factory sets real specs against a sealed sample.
| Point of measure (illustrative) | Value | Tolerance |
|---|---|---|
| Crown circumference (adjustable) | 22 in | ± 1/4 in |
| Crown height (front) | 5 in | ± 1/8 in |
| Brim / visor length | 2 3/4 in | ± 1/8 in |
| Brim / visor width | 7 in | ± 1/8 in |
| Sweatband width | 1 1/4 in | ± 1/16 in |
For fitted caps, you don't get one number. You get a size run: 6 7/8, 7, 7 1/8, and up, each with its own crown circumference. ASTM publishes size designation standards for apparel that inform how brands build graded runs (ASTM D5585-21). Decide early: one-size-adjustable or a fitted size run. They lead to different grading pages. Our free tech pack template gives you a measurement grid you can adapt to either.
A word on how you record the numbers. Measure the crown circumference flat, laid on a table, then double it, or state that you measured around the inside of the sweatband. Say which method, because the two can differ. For an adjustable cap, note the position of the closure when you measured, fully open or set to a mid point. A fitted run needs grading rules between sizes, and the standard step between hat sizes is 1/8 of an inch in radius, roughly 3/8 of an inch in circumference. Write that grading increment down so the factory builds the run the way you expect.
Brim, closure, and hardware: the hard-goods details
The brim, closure, and hardware are the hard-goods half of the cap, and they belong in the BOM with the same care as fabric. Sewport describes the BOM as the complete component list a factory sources from (Sewport). Each piece of plastic and metal on a cap is a component with a spec, a color, and a supplier tolerance.
Start with the brim. Flat or curved? A flat brim ships as sold; a curved brim needs a pre-curve radius so the factory knows how tight the bend is. Then state the stitch rows on the brim: a clean two-row visor reads different from an eight-row topstitched one. Count them and put the number in writing.
Closures are where I've watched samples come back wrong most often. Snapback means a plastic segmented strap. Strapback means a fabric strap with a slide. A fitted cap has no closure at all, and a buckle or elastic-fitted band is a third path. Name the closure type, the material, and the color. "Adjustable" is not a closure.
There are more closures than founders realize, and each needs its own hardware line. A snapback uses a segmented plastic strap that snaps. A strapback uses a fabric strap with a metal or plastic slide, a leather strap with a buckle, or a tuck-in cotton strap. Velcro closures show up on lower-cost caps and workwear. Elastic-fitted bands stretch to a size range without a strap. A true fitted cap has no closure and lives or dies on the size run. Pick one path, then spec the material, the color, and the hardware finish, matte or shiny, silver or antique brass.
Don't forget the small parts. Eyelets or embroidered vent holes, the sweatband material, and the button and squatchee at the crown top all need a line in the BOM. The squatchee is the small fabric-covered button where the panels meet. Eyelets can be metal grommets or stitched sew-through vents, and the two look different up close, so state which. Miss any of them and the factory guesses. Guessing is how common tech pack mistakes turn into a reject bin.
How do you spec embroidery, patches, and 3D puff?
Artwork is where cap files fall shortest, and it needs its own spec page. Techpacker lists colorways and artwork among the core tech pack sections (Techpacker). For a cap, the artwork page has to say which method builds your logo and exactly where it sits on the crown.
Pick the method first. Flat embroidery stitches thread directly into the panel. 3D puff embroidery lays foam under the thread so the logo stands proud, common on trucker fronts. A woven or PVC patch is a separate piece stitched on. Each looks different and costs differently, so state the method plainly rather than sending a flat logo and hoping.
Then pin the placement. Give the distance from the front crown seam and the center front, in inches or centimeters. State the logo width and height. Call out thread colors by a named thread system so the factory matches physical thread, not a screen color. Describe stitch density qualitatively, dense fill versus open, rather than inventing a stitch count you can't verify. Headwear factories run their own digitizing, and they need your intent, not a fake number.
One more thing founders skip: patch attachment. A patch sewn on four sides sits flat and firm. A patch merrow-stitched on the edge behaves differently. Say which, and say whether the patch goes on before or after the crown is closed. That order changes the whole build.
How do you spec a beanie tech pack?
A beanie swaps panels and brims for knit structure, so its tech pack reads more like a sweater spec than a cap spec. ASTM's textile committees publish the standard measurement practices that graded knit runs lean on (ASTM D13.55). For a beanie, the key numbers are knit gauge, rib type, cuff depth, and relaxed versus stretched length.
.jpeg)
Gauge comes first, because it sets the whole look. Gauge is the number of needles per inch on the knitting machine: a fine 12-gauge knit is smooth and thin, a chunky 3 or 5-gauge is thick and ribbed. State the gauge and the yarn, acrylic for budget, merino wool for warmth, cotton for a lighter feel. Then state the rib. A 1x1 rib is tight and elastic; a 2x2 rib is wider and stretchier. The rib decides how the beanie hugs the head.
Cuff and length trip people up because knit stretches. Give the cuff depth, then say whether it's a single cuff, a double fold, or no cuff at all on a slouchy beanie. Measure length two ways: relaxed, lying flat, and stretched, so the factory knows the range. If there's a pom, spec whether it's yarn or faux fur, its diameter, and whether it snaps off or is sewn on permanently. A removable snap pom is a different BOM line from a stitched one. Knit shrinks and relaxes after blocking, so anchor every number to a sealed sample the way you would on a cap.
Why do cap tech packs get rejected on the line?
Caps get rejected when the spec leaves a gap the inspector can measure. Quality inspection runs on AQL, the Acceptable Quality Limit, sampled under standards like ISO 2859-1. QIMA notes that AQL 2.5 is the most common general limit, with 1.0 for higher-risk items, 4.0 for minor cosmetic defects, and critical defects at zero (QIMA). Your tolerances decide what counts as a defect.
Here's the mechanism. An inspector pulls a sample and checks each cap against your spec. If your crown circumference has no tolerance, the inspector can't fail an oversized piece, or worse, fails good ones. If your embroidery placement is vague, a logo sitting a half-inch high isn't clearly a defect. Vague specs don't prevent rejections. They cause arguments.
Tight tolerances feel fussy until the first production run. Then they're the reason a container of caps passes inspection instead of sitting in dispute. Match your AQL conversation to your spec, and write both before the factory cuts fabric. For the layout rules that keep an inspector reading in the right order, see our guide on tech pack format.
What should you hand a headwear factory?
Hand a headwear factory a document it can cut from, not a mood board. QIMA's AQL framework only works when every spec has a number to inspect against (QIMA), so the file you send has to carry those numbers on every page. A clean cap spec is a short, dense pack, and here's what belongs in it.
Lead with flat sketches from every angle: front, side, back, top, and the underside so the sweatband and undervisor show. Follow with the BOM naming panels, stiffener, closure, thread, mesh, eyelets, button, and any patch. Then the points of measure against a sealed sample, each with a tolerance. Then the artwork page with method, placement from the crown seam, and named thread colors. Add colorways with named color codes, the grading rule or size run, and a packaging note.
The single best thing you can add costs nothing to describe: a physical reference cap. If you own a cap whose crown height, brim curve, or closure you want matched, say so and ship it with the spec. A factory can reverse-engineer a real sample faster than it can interpret ten photos. Reference the sample by name in the tech pack, note exactly which features to copy and which to change, and you've removed the last big source of guesswork. That's the difference between a first sample that's close and one that's wrong.
What does a hat tech pack cost to produce?
A proper hat tech pack takes real hours, whether you build it or hire it out. Guru estimates a professional tech pack runs roughly 5 to 20 hours of work per style, in the range of $500 to $2,000 (Guru, 2022). A cap sits at the involved end because the panel, closure, and artwork pages each need detail.
You have two honest options. Build it yourself with a structured starting point, or have specialists build it against factory-ready standards. If you want it done for you, our tech pack service delivers a complete, factory-ready cap spec from $299, with the panel, POM, closure, and embroidery pages already structured the way headwear factories expect. That's the section founders get wrong on their own.
If you'd rather build it yourself, start from our tech pack template and adapt the measurement and BOM pages to headwear. Specialist headwear factories, including partners we work with through Portugal Clothing Factory, read a clean spec far faster than a folder of reference photos. The document pays for itself the first time a sample comes back right.
Frequently asked questions
What's the difference between a snapback and a fitted cap in the tech pack?
A snapback uses a segmented plastic closure, so the tech pack specs one size and the strap material and color. A fitted cap has no closure, so it needs a graded size run: 6 7/8, 7, 7 1/8, and up, each with its own crown circumference and tolerance. Decide before you write the grading page.
Should I spec embroidery or a patch for my logo?
It depends on the look and the crown. Flat or 3D puff embroidery stitches into the panel and suits clean logos. A woven or PVC patch is a separate piece stitched on and handles complex art. Whichever you pick, state the method, placement from the crown seam, and named thread or patch colors.
Is a trucker hat tech pack different from a baseball cap tech pack?
Yes, mostly in the bill of materials. A trucker hat pairs structured foam front panels with a mesh back and usually a snapback closure. A baseball cap runs fabric across all panels. Both share the same 8 sections, but the BOM, panel spec, and ventilation notes change between them.
What points of measure does a cap tech pack need?
A cap uses crown circumference, crown height, brim length, brim width, and sweatband width, each with a tolerance. Apparel measurements like chest and sleeve don't apply. Measure against a sealed sample and record the plus-or-minus room the factory has before a piece fails AQL inspection.
Do I really need tolerances on a hat tech pack?
Yes. Tolerances turn a target measurement into an inspectable rule. Under AQL sampling, inspectors fail pieces against your stated limits, and QIMA notes 2.5 is the common general level (QIMA). Without tolerances, an inspector can't cleanly pass or reject a cap, and disputes follow.
What fabric works best for a structured cap versus a dad hat?
Cotton twill suits a structured cap because it's firm, holds a tall crown, and takes embroidery cleanly. Brushed cotton twill suits a dad hat because it's softer and folds flat. State the fiber and the weight in the BOM, plus the interlining or fusing weight, since the stiffener decides how structured the front feels.
How do you spec a beanie in a tech pack?
Spec a beanie by knit gauge, yarn, rib type, and cuff. Give the gauge, a fine 12-gauge or a chunky 3 to 5-gauge, the yarn like acrylic or merino, and the rib, 1x1 or 2x2. Measure length relaxed and stretched, state the cuff fold, and detail any pom as removable or sewn.
What files does a headwear factory actually need?
A factory needs flat sketches from every angle, a BOM naming panels, stiffener, closure, and thread, points of measure with tolerances against a sealed sample, an artwork page, colorways, and a grading rule. A physical reference cap shipped with the spec speeds the first sample more than extra photos.
The bottom line
A hat tech pack keeps the same 8 sections as any garment spec, then rebuilds the measurement, closure, and artwork pages around headwear. State panel count and structure. Give crown height and profile. Spec the brim curve, the closure hardware, the sweatband, and the button. Pin embroidery placement from the crown seam with named thread colors. Put a tolerance on every measurement so an AQL inspector can pass good caps and fail bad ones. That's the whole job. Specialist headwear factories build caps, and they read a clean spec faster than any pile of reference photos. Start from our tech pack template, fill in the cap layer, and send the factory a document instead of a wish.
Peter Midea runs a network of 80 clothing factories in Portugal and has watched more garments get rejected on a production line than he'd like to admit.
We build the factory-ready spec a manufacturer can quote from without a single question: technical flats, bill of materials, graded points of measure with tolerances, colorways and construction notes. $299 per style, 3 to 5 working days, 2 to 3 revision rounds.
Get your tech pack — $299Start with the free templateWe don't take your production. The spec is yours to send to any factory, anywhere. Talk to us first if you're not sure what you need.
Sources
Every statistic and definition in this article traces to one of the following. Each is listed once here, and cited inline where it is used.
- Techpacker
- Sewport
- ASTM International
- images.pexels.com
- ASTM International
- [otextilpt.sirv.com](https://otextilpt.sirv.com/_%20(9)
- QIMA
- Guru
- Portugal Clothing Factory
Related guides
- Tech packs: the complete guide
- Streetwear tech pack
- Shoe & handbag tech packs
- Free tech pack template